After displaying a set of series of my dreams and reality project, I have chosen the below sets.
Feedback from the class
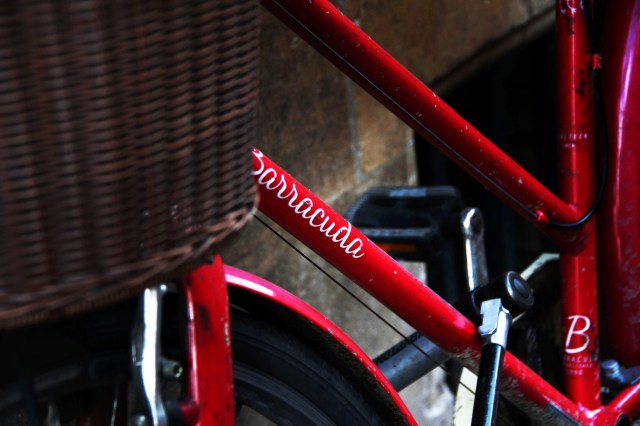
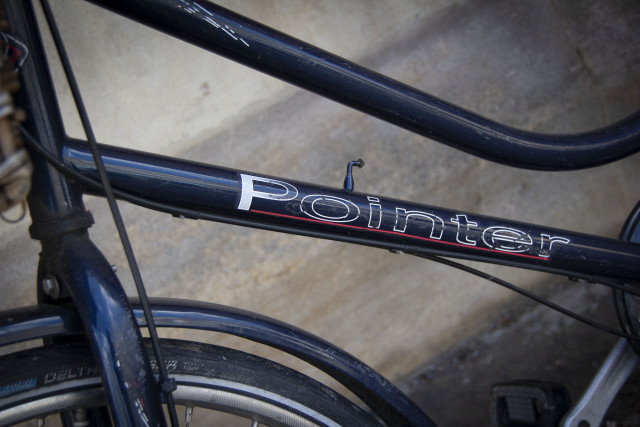
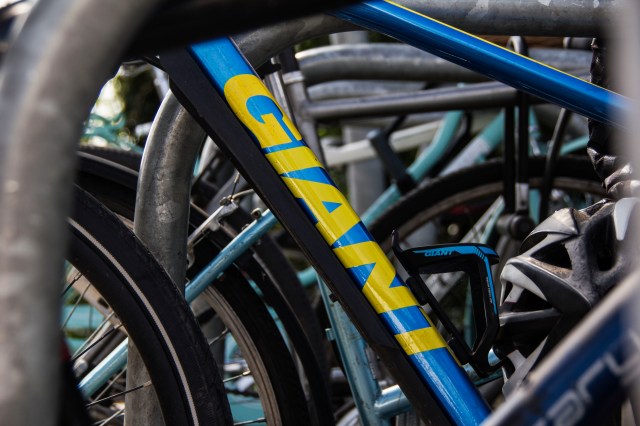
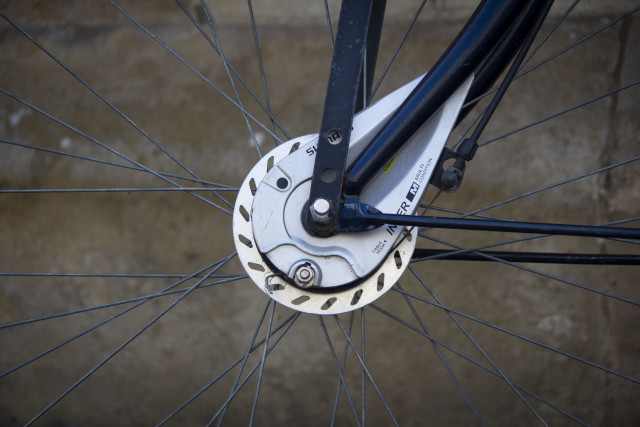
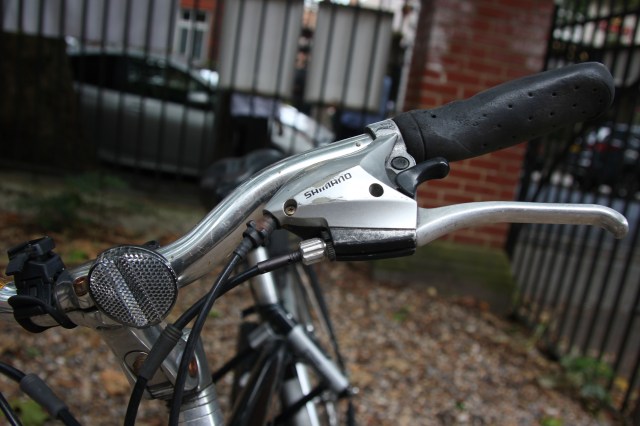
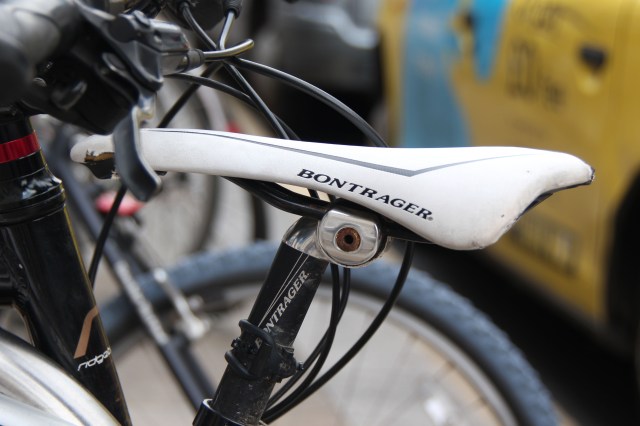
My class fellows, really have supported me all the way along – in order to select the best images for this project. The reason to why these images have been chosen, as the flow of the series ties in well. You can see the series of 3x components of the bike has been portrayed, clearly, defining the clear use of shallow depth of field. The other set of 3x different sets photos – demonstrates bright, and bold branded bike names.
The feedback given – also states the below series do not hold a story – but the theme behind the concept of bike has worked well.
I wish I had focused on a stronger story , however I have demonstrated a range of concepts in my previous blogs.
Preparing the files to print:
How I have selected my size, images and paper.
First of all – before printing I have slightly image manipulated these – in order to enhance the dramatic features of the bike – using the ‘Lasso Tool’ and the ‘Selection Tool’ on the side of the images
These images were saved in camera raw – dpi 300. High Jpeg quality and was uploaded on to DS Colour.com. I had selected standard printing, Size: 12 x 8 and paper type was: Gloss.
