Preparing files to print – Summary and Class feedback

After displaying a set of series of my dreams and reality project, I have chosen the below sets.

Feedback from the class

My class fellows, really have supported me all the way along – in order to select the best images for this project. The reason to why these images have been chosen, as the flow of the series ties in well. You can see the series of 3x components of the bike has been portrayed, clearly, defining the clear use of shallow depth of field. The other set of 3x different sets photos – demonstrates bright, and bold branded bike names.

The feedback given – also states the below series do not hold a story – but the theme behind the concept of bike has worked well.

I wish I had focused on a stronger story , however I have demonstrated a range of concepts in my previous blogs.

Preparing the files to print:

How I have selected my size, images and paper.

First of all – before printing I have slightly image manipulated these – in order to enhance the dramatic features of the bike – using the ‘Lasso Tool’ and the ‘Selection Tool’ on the side of the images

These images were saved in camera raw – dpi 300. High Jpeg quality and was uploaded on to DS Colour.com. I had selected standard printing, Size: 12 x 8 and paper type was: Gloss.

Final Project (The never endless bike journey – Narrative sequence – Dreams and Reality) (Task 5 (AC 2.4, 3.1)

INSPIRATION FROM: Graham Watson – Cycling Photographer (London, 1956)

One of the popular cyclist photographers – who has traveled on his bike tours to Paris, London and many more places. Graham entered in small competitions and had won the ‘cycling weekly magazines’ in his career as a cycling photographer. Watson was popular for his launched book called ‘kings of roads’ in 1886 and my road to victory. Having a deeper look into Watson’s cycling images, I was inspired through his images to how Watson portrayed the great detailed attention in movement (capturing moving people on cycles and using longer shutter speed also known as panning.)

Graham Watson photographer cyclin in such a way which demonstrates his passion and the journey of cycling This is what led my inspiration for the ‘Dreams and Reality project.’

Watson in his photographs has clearly defined shallow depth of field, capturing emotion, victory and detailed attention of courage and the stride in winning. This photographer has immersed a great use of composition and position which allows the reason to visually feeling the winning and the powerment in his passion.  

As you can see from below, Watson has captured: brand names, winning, movement, emotion and colour. From analysing this particularly photographer – I began to research the theme concept of ‘cycles.’ My idea was to photograph a list of different cycling brands, focusing on different elements and features of a cycle. This included: names on a bike, the rough, used edges on a wheel, the cycle wheel, helmet etec. I wanted to capture bold colours and create a story telling sequence in the chosen photographs.

THE NEVER ENDLESS – BIKE JOURNEY ( Task 5 (AC 2.4, 3.1) – Assess your outcome ( Observe and annotate all health and safety considerations as you work on the project. )

CONCEPT: My concept was to capture the branded – Cycles through different locations.

Locations: Cambridge, Parks & Richmond, Train stations.

The concept behind the dreams and realty project was to demonstrate the usage of creativity, using Adobe Photoshop (Lasso Tool) and (Selection Tool.) I had darkened and lighted the areas on each photograph below. I was able to create dramatic photographs, enhancing colours. I have created the sequence of how cycles travel using various brands and focused, primarily on details to attention – on areas of scratches, old worn pedals, visualizing capturing the straight end journey of cycling.

OBJECTIVE – To select the best 6/8 and demonstrate a visualizing sequence of the bicycler and the journey bend the rough and long journey

NARRATIVE:

SUMMARY/CONCLUSION:

Being able to stroll around Cambridge and Richmond, I wast able to select these few photographs for the dreams and reality topic . After experimneting diffrent concets, from weddings, water refelctiotio, longer exposure – I decided to select the smystrey behding bike cycles. Using a sequence simaualr to Mac Adams – creating a story. My aim was to focus on each specfic componment, element of a bike and its tough jounry – capturing branded names and the scratches of durabaikty of the bike. Apperature was my key teqnical setting applies all the way, as I enjoy working with shallow dept of field and wanted to create a mystrey background in each photography – where the views mind wants to know more about where has the rider been riding this bike, where is this bike and why is this bike there.

Streghts: The project on dreams and reality – made me explore how to be creative and how to visually compose my images . This project gave me the opportunity to be able to be creative with the views reading of these images and be able to capture photos where the vuew can intrepretate the conception of this image in different ways. I was able to expeirncment diffrent composostuons – which captures diffrent parks of of the bike in more interesting ways.

I was able to devleop:

  • Stronger compositions
  • Using Adobe Lasso Tool – create and darken areas
  • Adobe Selection – using the selection tool
  • Visual languages in photographs
  • Being creative using image manipulation to create creative imagery.

Weakness – To improve

As a weakness, which can be taken into consideration for a future practice, – I wanted to be more creative with lighting and wanted to explore a little more with longer exposure as I felt using longer exposures – clearly defines the correct settings to had been used for this project dreams and reality. I wished I had visited more exhibitions for inspiration for this unit – due to working week days I was limited to time. I found my research and analysis could have been improved, stronger and much more detailed.


TEAM CLASSES FEEBACKl

The story behind the journey of ‘Bikes’ – (AC 2.1, 2.2)

Behind Cycling the – Bike:

The below photographs, demonstrate the clarity and the sharpness of the brand name of each cycle. My objective for the below image was primarily to focus on each different components of a bike. I.E the wheel, the seat, the branded logo, the chain of the bike. This is where my idea for the final project came from.

Compositions: The images below demonstrate a range of compositions, my aim was to capture the viewers attention to certain areas, i.e brand name and also where the focus is sharp in the images. As you can see my I really enjoy working with lower aperture settings – creating a very shallow dept of field and manually focusing in specific areas I wanted the focus point to be at.

Image Manipulating – Photoshop

Using the ‘Lasso tool’ I was able to darken key areas in certain areas of my photographs. Lasso tool – is one of the greatest tool to use when you want to darken or lighten certain elements of you photograph. The below photographs will you the difference, were I had darkened and lighten specific areas of the images. I had also applied the ‘clone tool’ – where I had cloned clean area to get rid of a certain un clean area. (This is often applied by click on clone tool and holding Alt (to the area you want cloned.)

Lasso tool & Selection tool > Curves > Feather : (Aim – was to lighten the brand name and darken the areas around the name.)

The Lasso tool – in Photoshop really supports – to draw the attention to where the photographers wants its viewers to be drawn into. This tool can bring up any dark or light areas. It was also a great tool to add to the dreams and reality unit as it can either take away distraction or create dramatic editing affects. 

The Indian Wedding Decor – finding the missing couple

The Decor concept – Dreams and Reality (Idea 2)

Dreams & Reality – Capturing Detailed to attention

My Aim – was to focus on detailed to attention, creating a strong shallow dept. of field and to ensure the quality and sharpness has been captured. This was a wedding event I had attended as a third shooter. The objective was to capture wedding decor, using ideas to explore creative compositions and ensuring the ‘ambient lighting was also captured.’
My aim was to capture a series of 6/8 decor moments which I could use as my dreams and reality project. I was able to capture around 8 – 15 photographs – creating a leading, décor story, creating an impact to the viewers’ attention to what is going.

Concept: Finding the Bride & Groom in the décor . Elements of Wedding Décor

  1. Best day (props) (This image – tells use the story this is a special day.
  2. Children’s – colour book (Lead into the story – a hint that there are good at this event.
  3. The caters – with the bride and grooms name ( The reason why I had captured the a menu – also another story telling sequence that there is food at this event.
  4. Using creative composition & D7200 lens (Capturing a ‘triangle leading composition of campaign g glasses sequenced in a ‘leading line’ triangle
  5. Decor on Tables (Images of decor – another photo which leads to the story what this event holds.
  6. Chadaligns light (using a shallow dept of field,) focusing the viewers eyes to one element of the image (keeping this sequence a suspense where the audiences mind are at this point curios what else in this photo or behind this light.
  7. Table set up leading to the bride and grooms
  8. A wide angle shot of the venue
  9. The campaign opening
  10. The first dance and the couple

Looking for the brides dress – Aperture and focus points?

Working alongside professional wedding events photographers, I was given the insight and experience how to capture weddings, receptions and different cultural weddings. I was told each different location or step, will affect your camera and flash setting, I was also told each room or area will have a different light conditions. Shooting big events such as weddings can be a major nerve racking challenge but also – an experience to learn and to better yourself. The above photographs, I was able to focus on the brides detailed embroidery dress, but using my manual focus point on certain areas of the dress.

This blog shows , wedding decor and the brides outfit sequence, as you can see again I have focused the using shallow depth field. I was able to control my shutter and aperture settings together.

Dreams and Reality – Theory

DREAMS AND REALITY:

The theme for this project is Dreams/Reality. By researching artists and photographers, you are to produce a set of images which show an experimental approach, and investigate the line between dreams and reality. It’s an opportunity to get creative and use your imagination!

Use the photographic techniques you have learned during the past two terms (either studio or location) to produce a set of around 5 photographs. You are expected to develop a body of work which explores and analyses materials and techniques.

This unit was based on dreams and reailtiy. In this unit I had the opportuntiy to explore a number of various photographers, and surrealismg artisit. This unit was about creating imaged, out of the box, it was about being creative and imaginetive, alongside exploring the different sents of camera teqnqiyes that be applied when photograhying creative images.

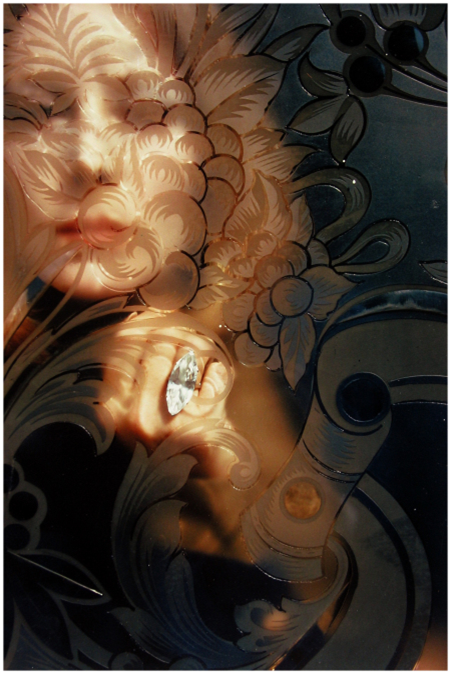
The idea ‘dreams’ to me visualize something which can is dreamy, beach water in an unusual area or location, creating a paradise pool in an office, rainbow which appears in the sun something which appears unreal, and on the other hand reality – which does exists. Dreams also reflects on the idea of surrealism – the idea creating narratives under illusion, stressing on the subconscious idea and thoughts. Many photographs and art artist – introduced surrealism in painting and in photography such as: Philippe Halsman, Anka Zhuravleva (distorted reality) ,Brooke Shaden – The Dream State and many more, and painters such as Picasso Pablo, Salvor Dali, Rene Margritte, Frida Kahlo.

This link will show you the top 10 surrealism photographers. http://www.photographyoffice.com/blog/2014/9/top-ten-surreal-photographers-you-have-to-know

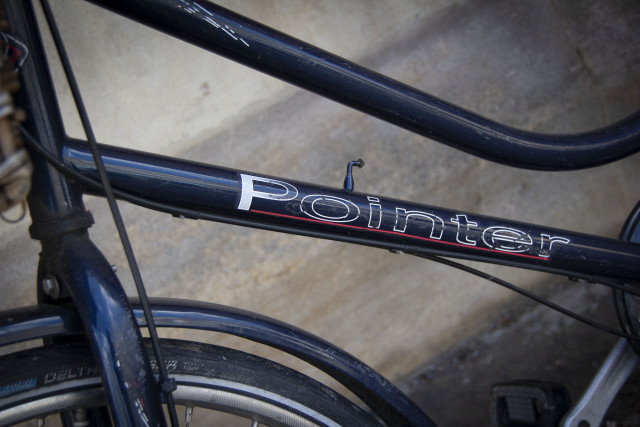
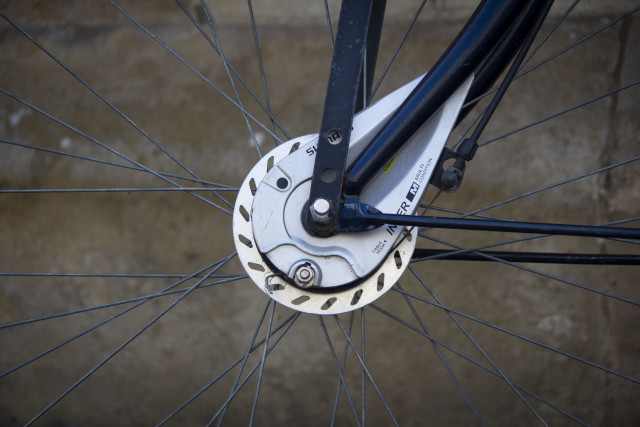
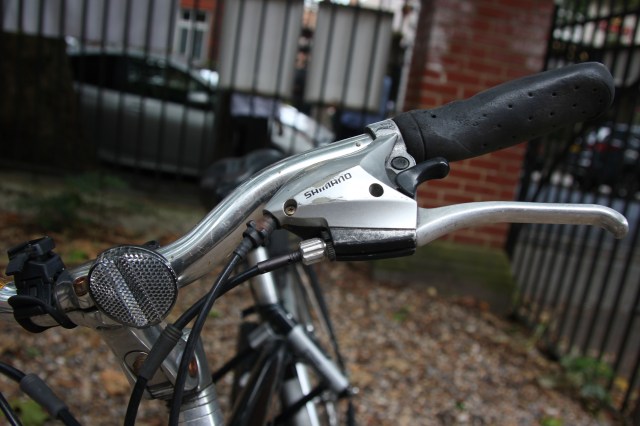
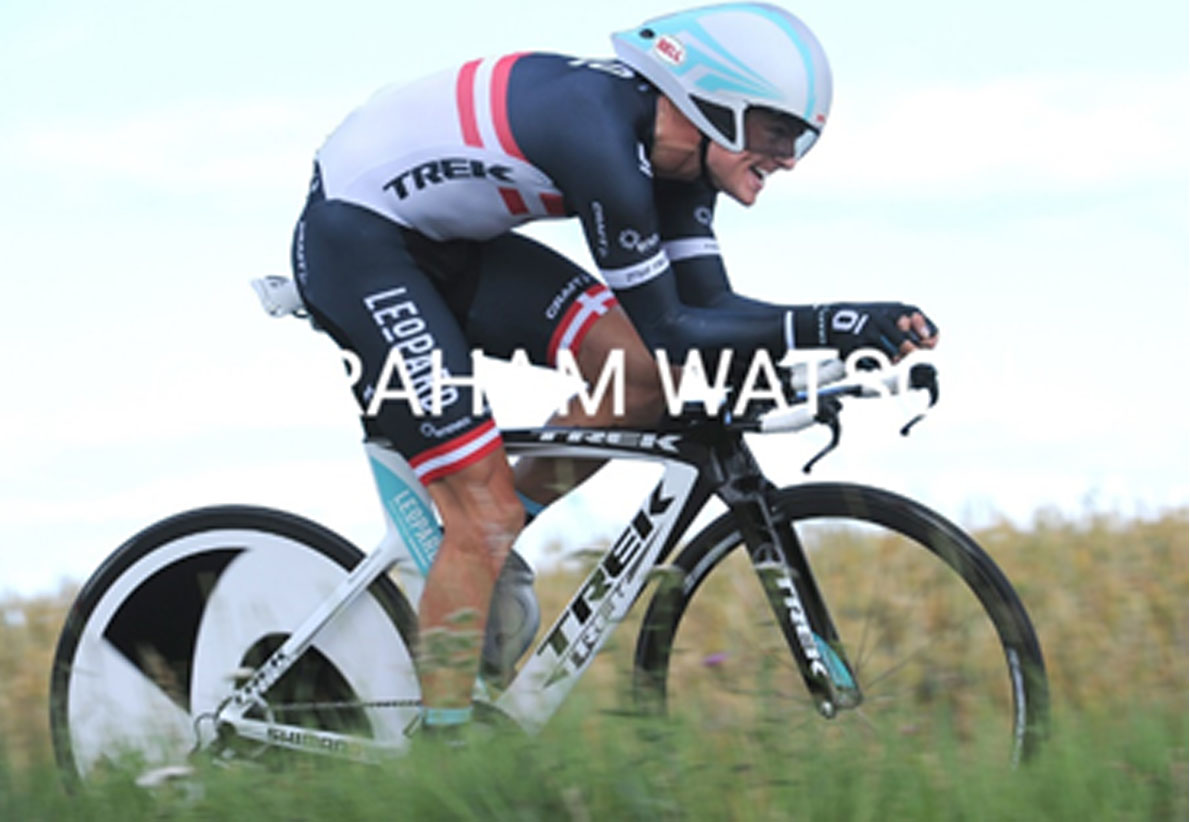
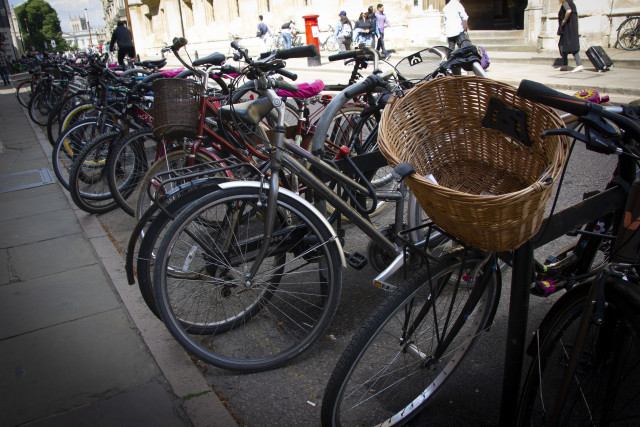
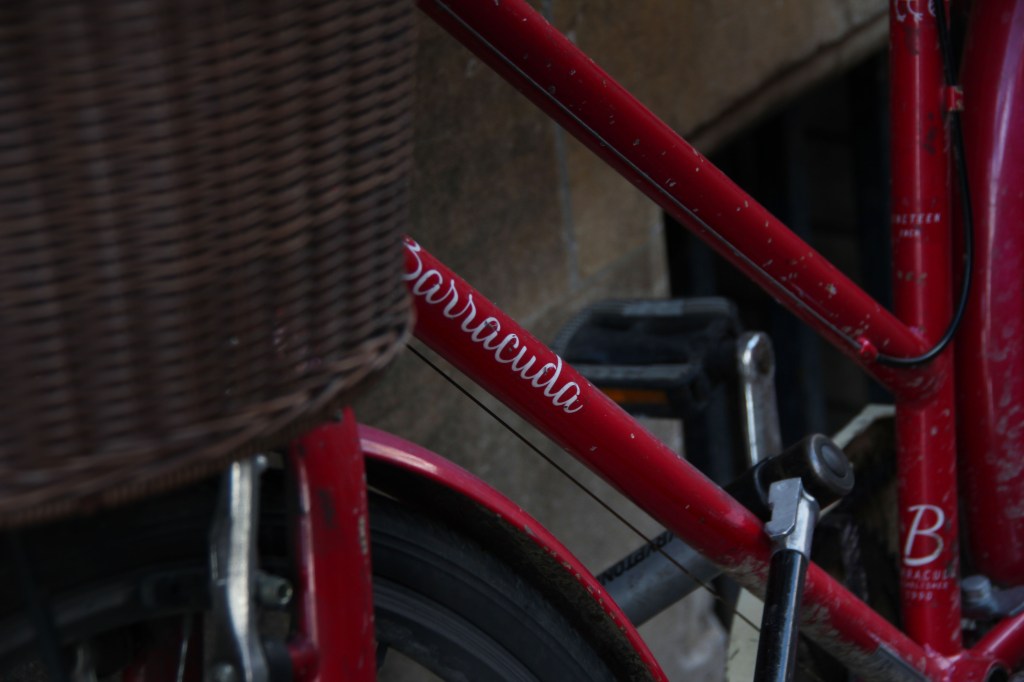
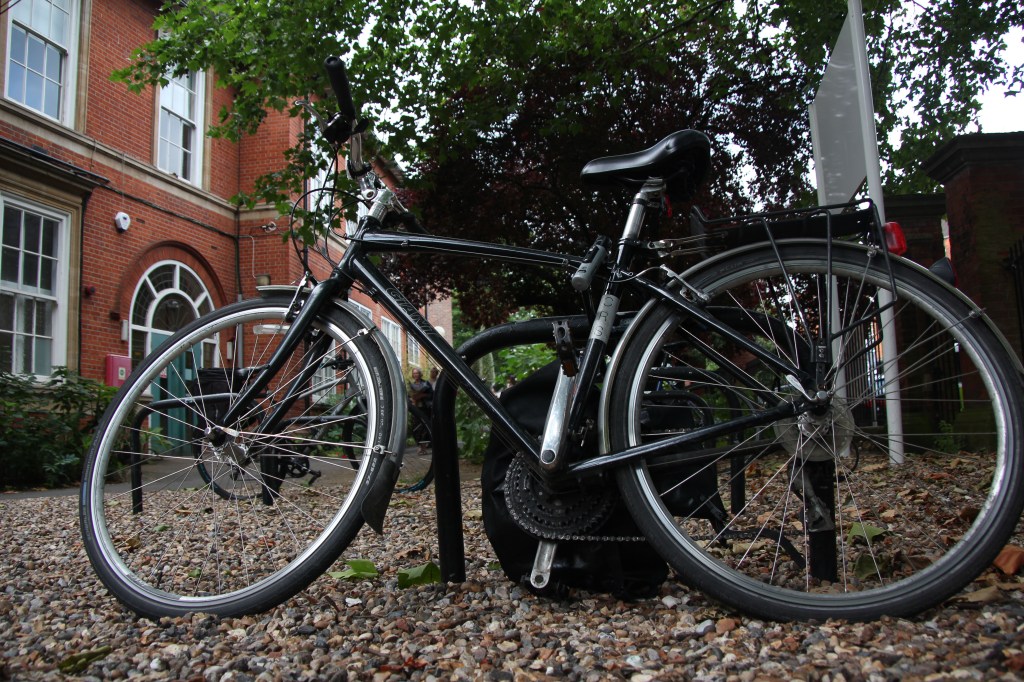
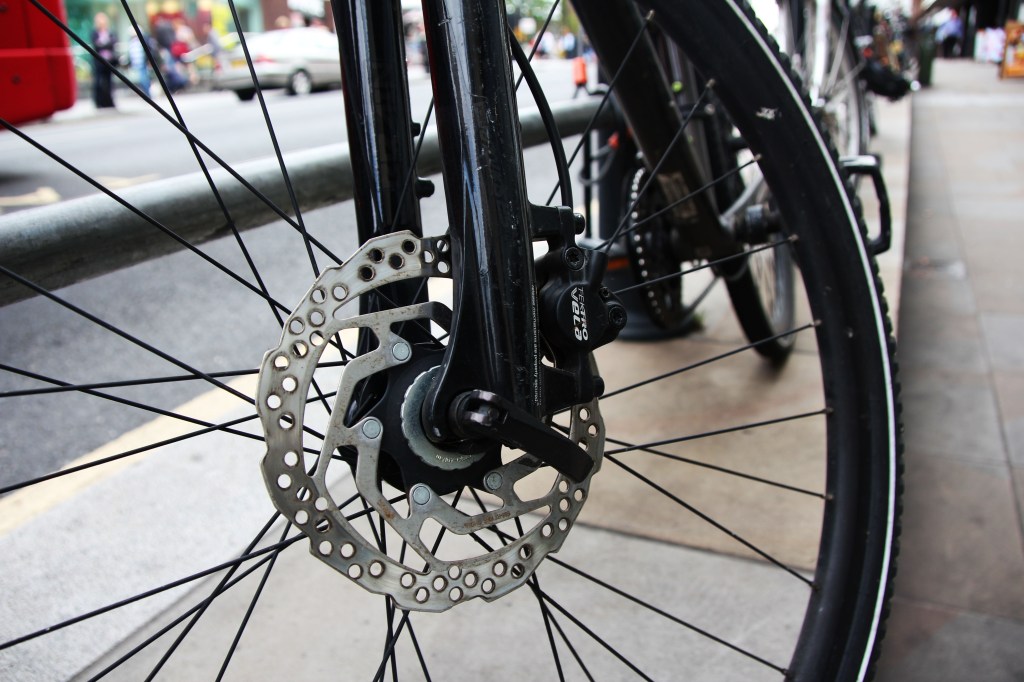
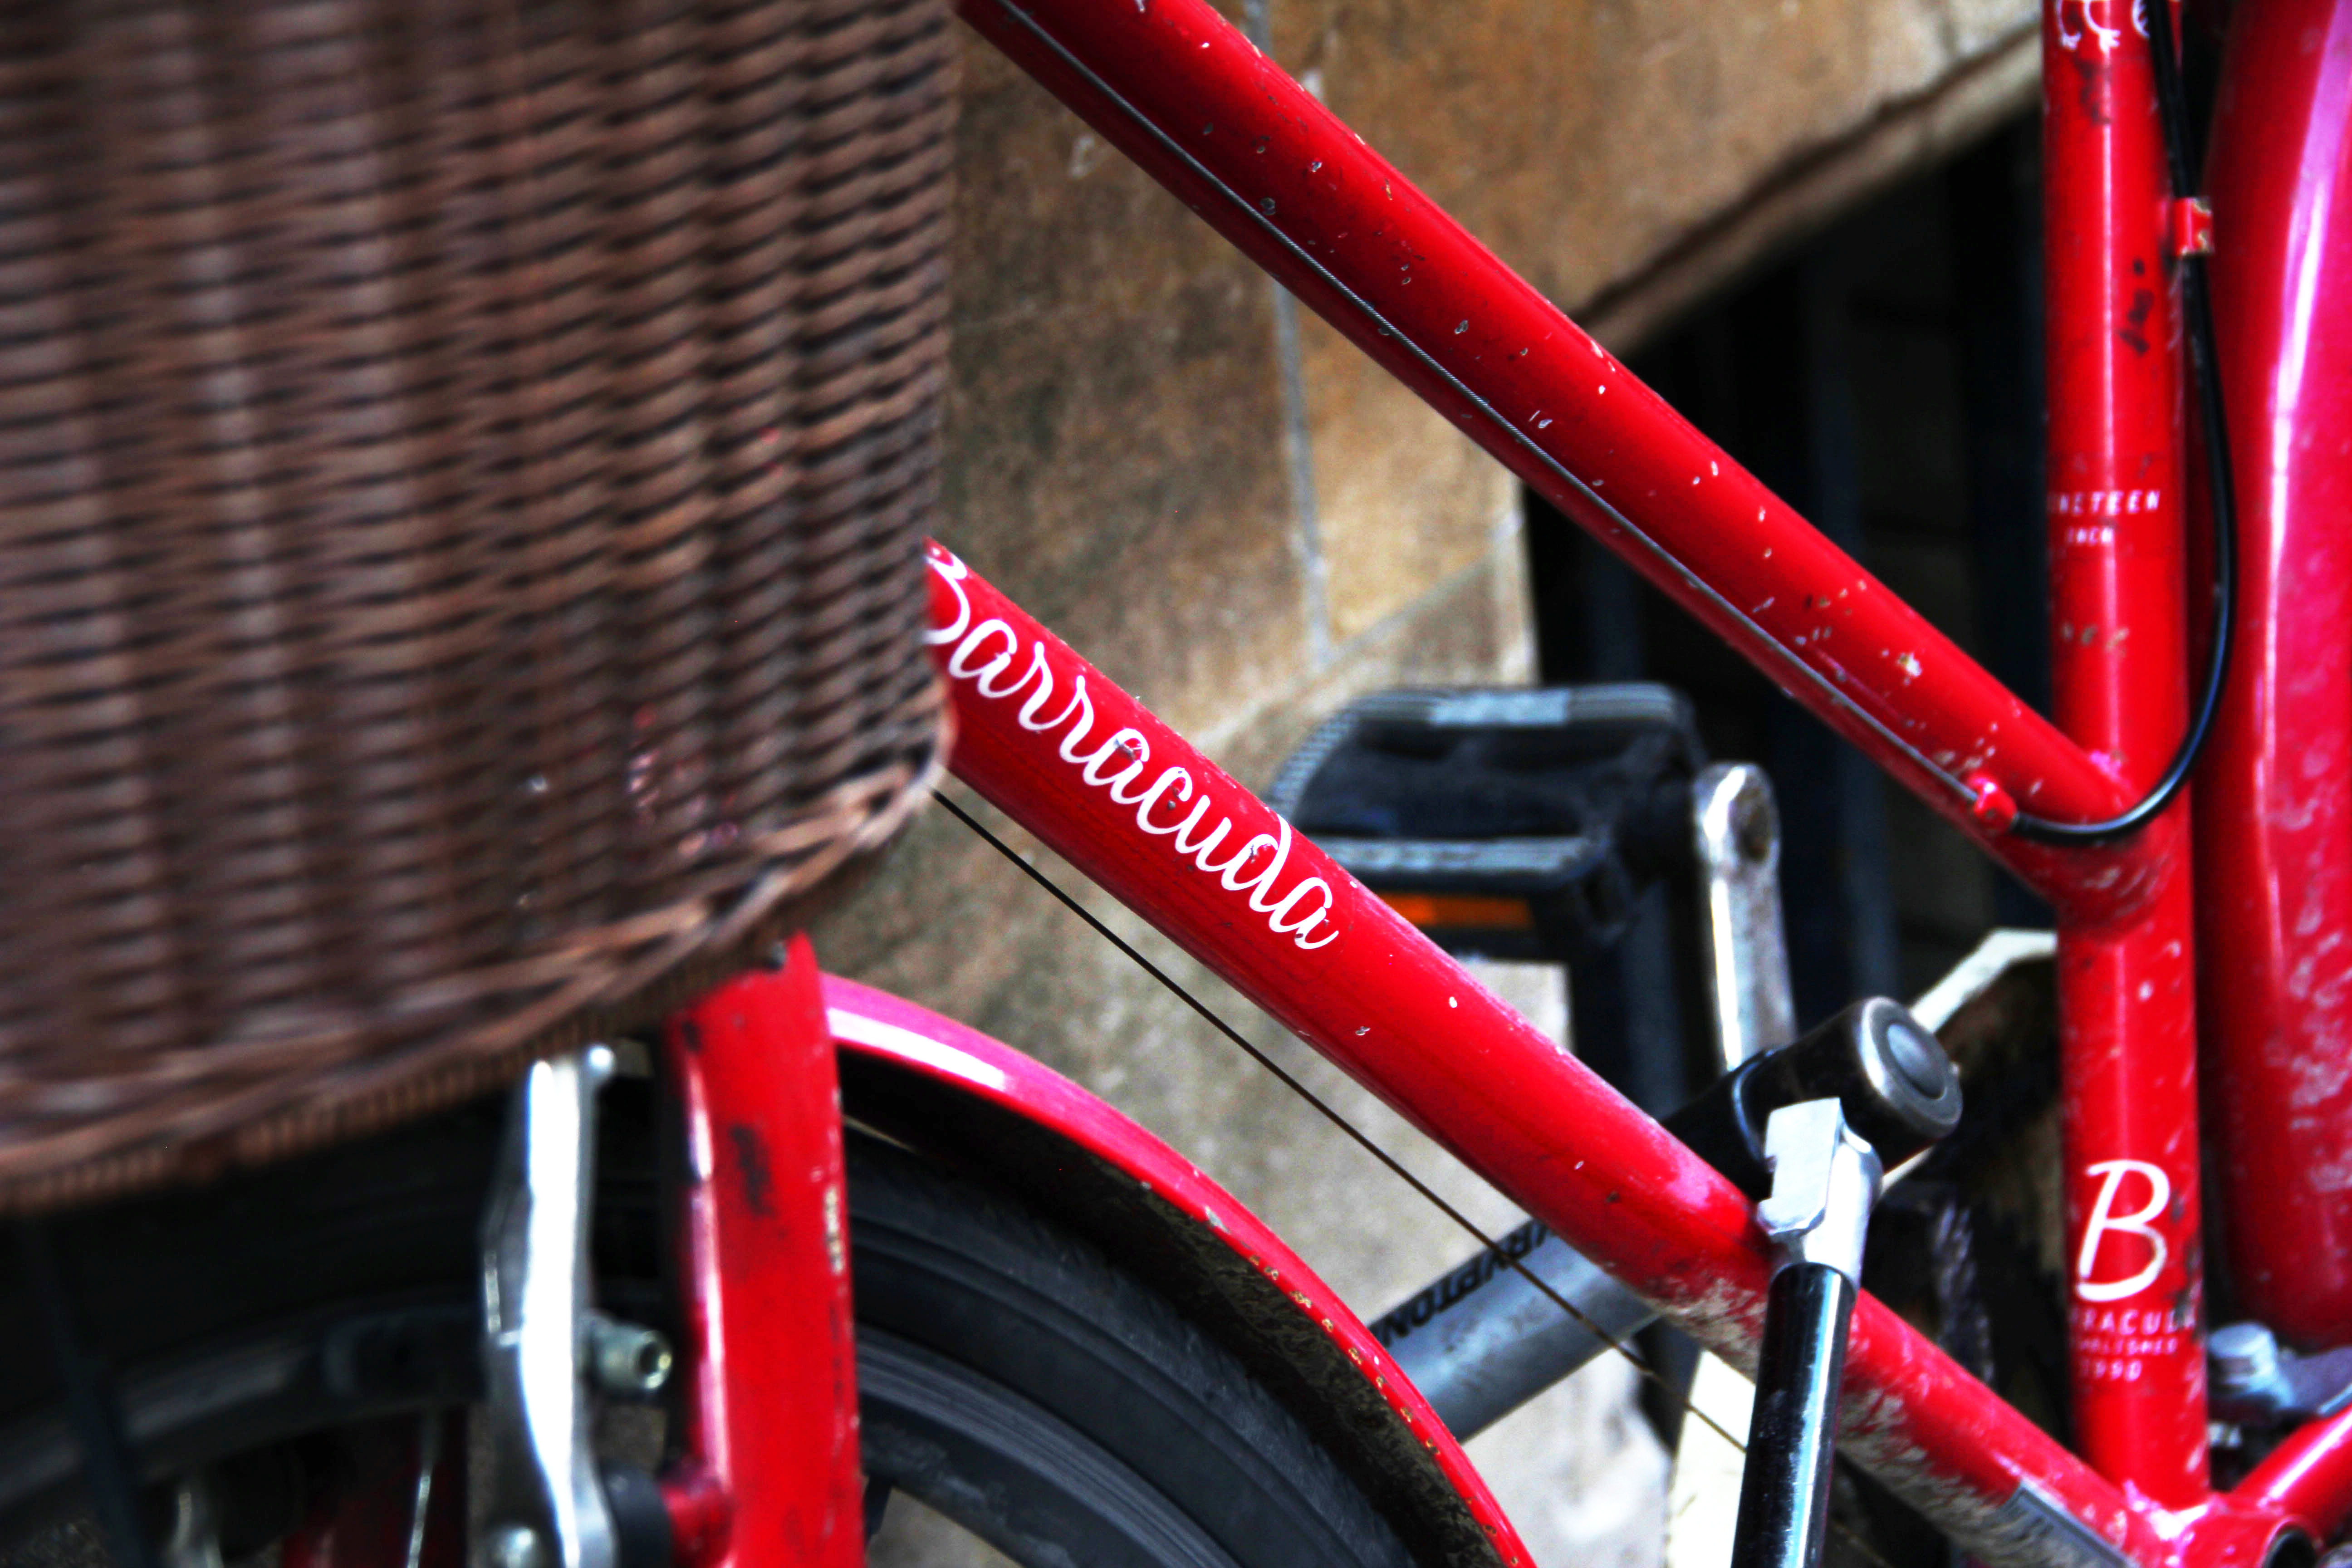
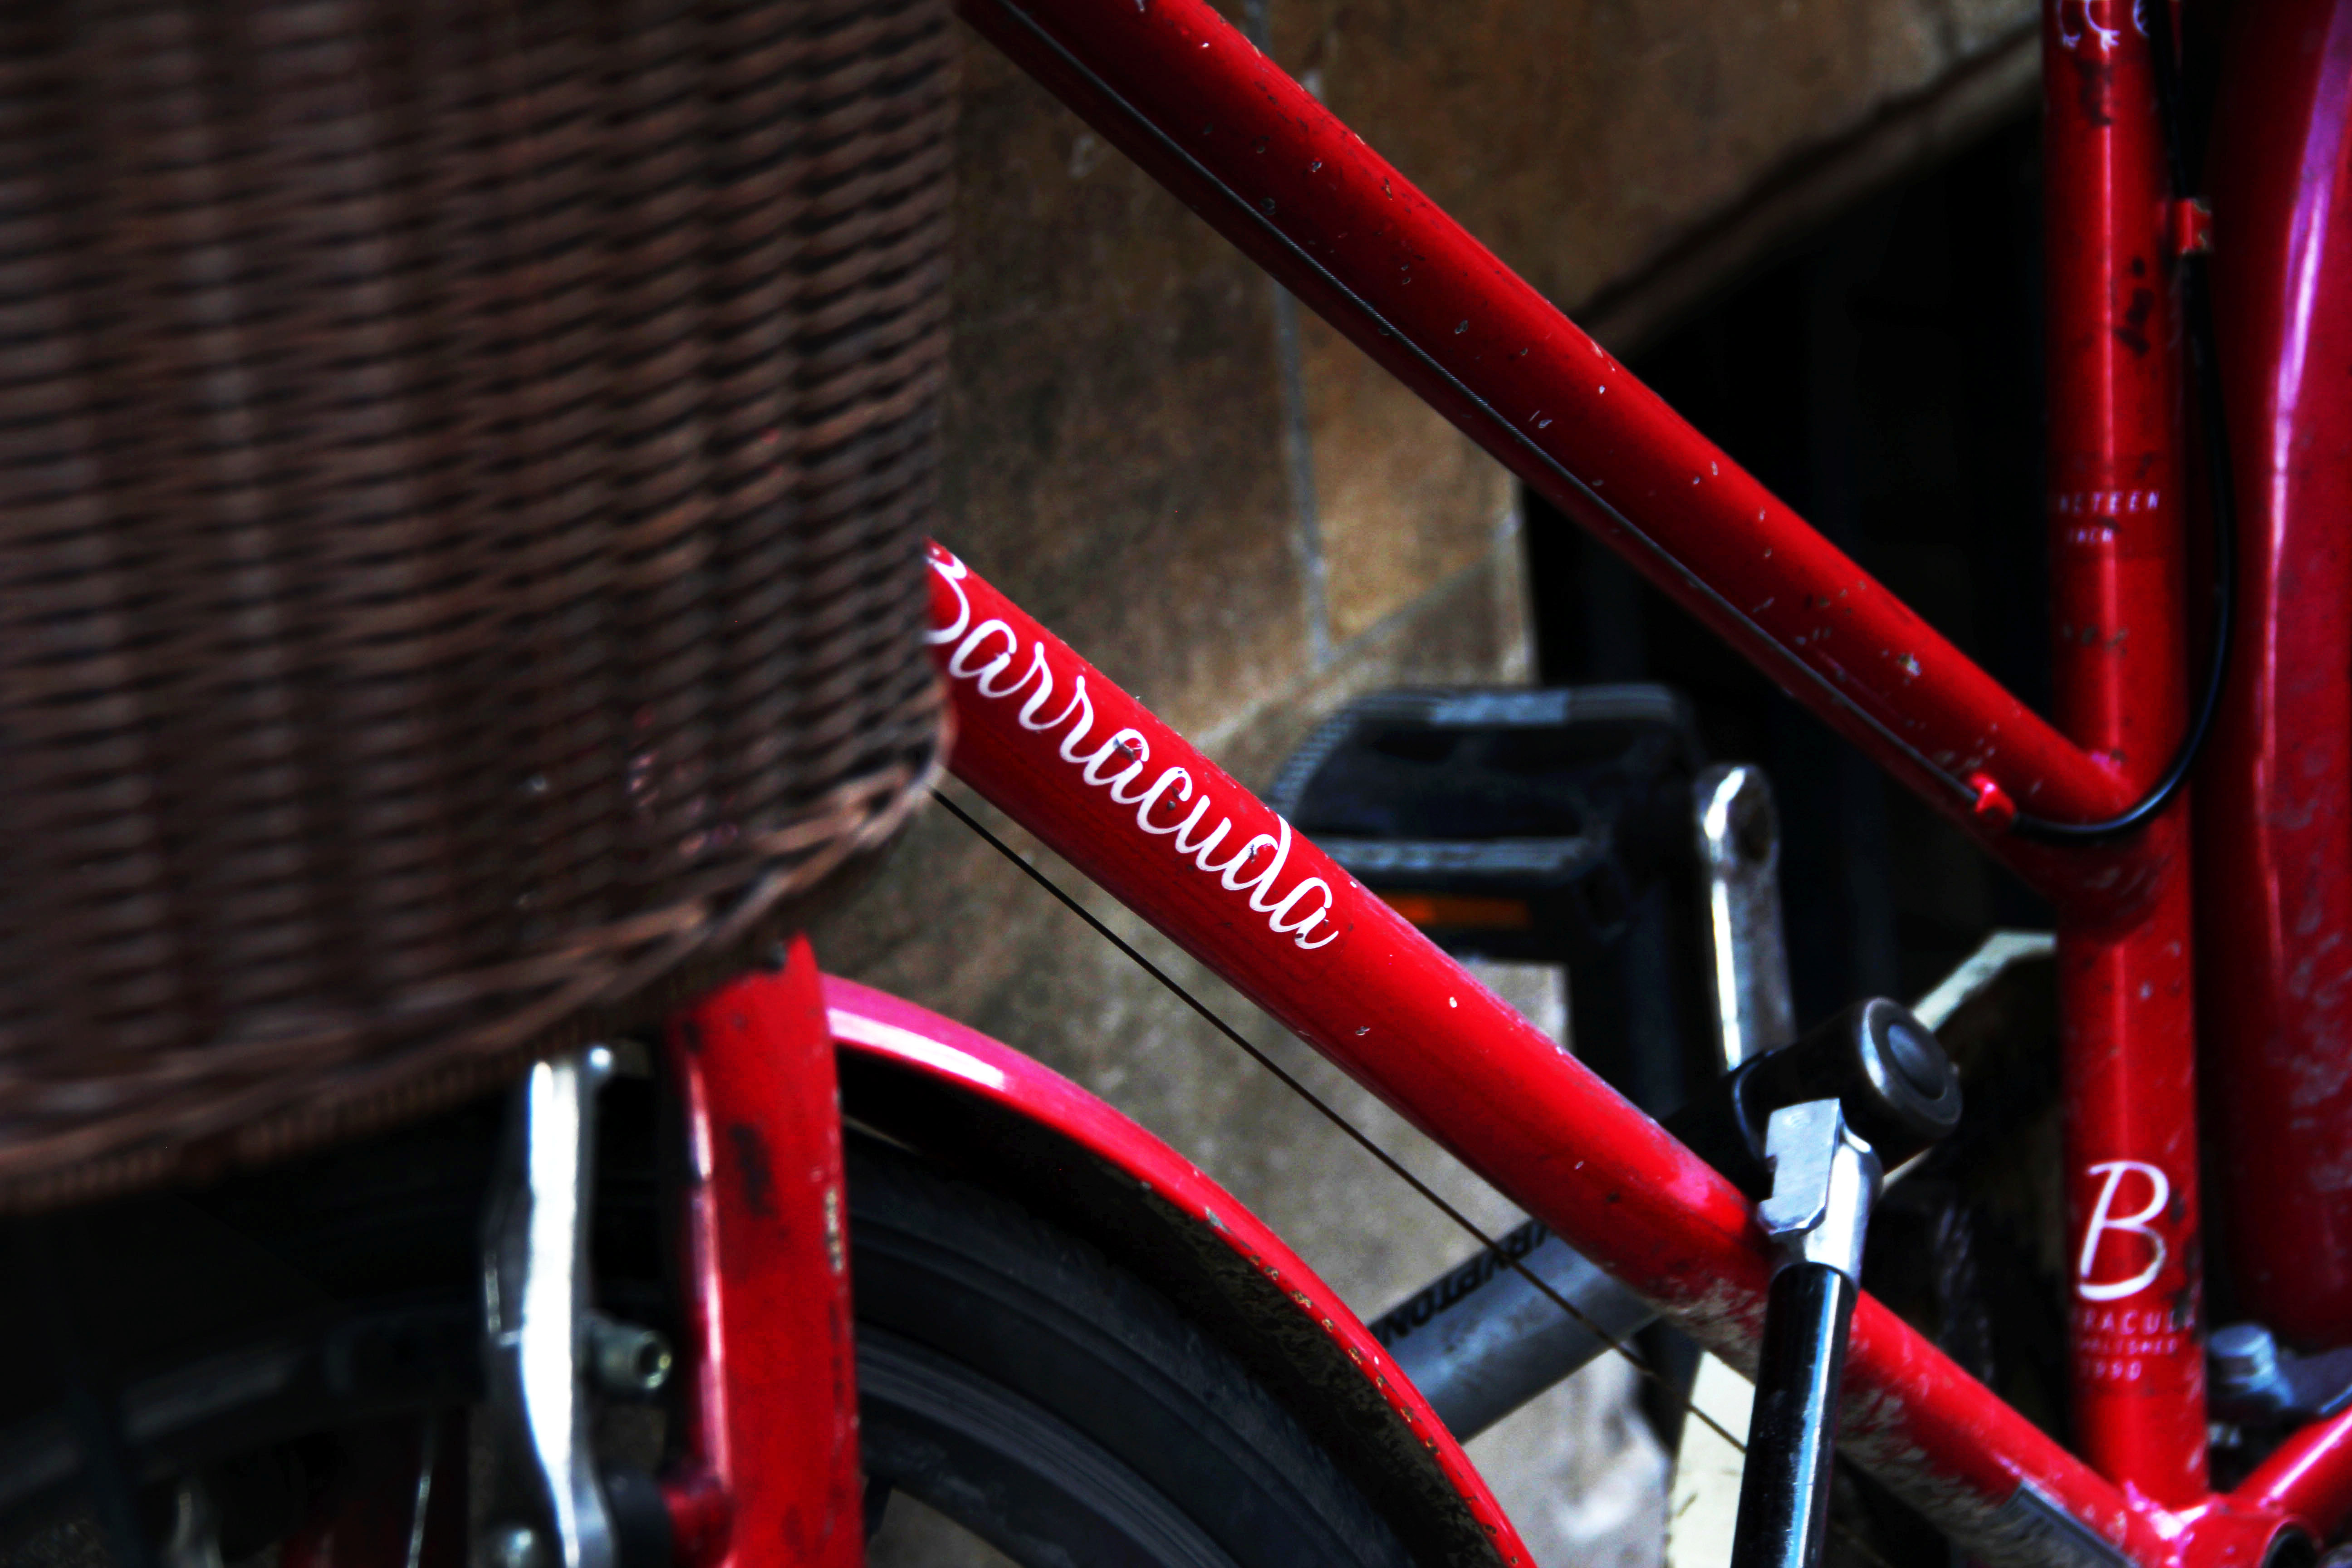
My objective: To explore the mystery bend the journey of a cycling bikes.

My goal: To capture a range of creative series, using longer exposures, focusing on reflections and capturing detail attention. In this unit I have demonstrated a range of different ideas, but the end goal is to finalize a narrative sequence – focusing on quality, shallow dept of field and clarity on the story of the cycle bikes concept.

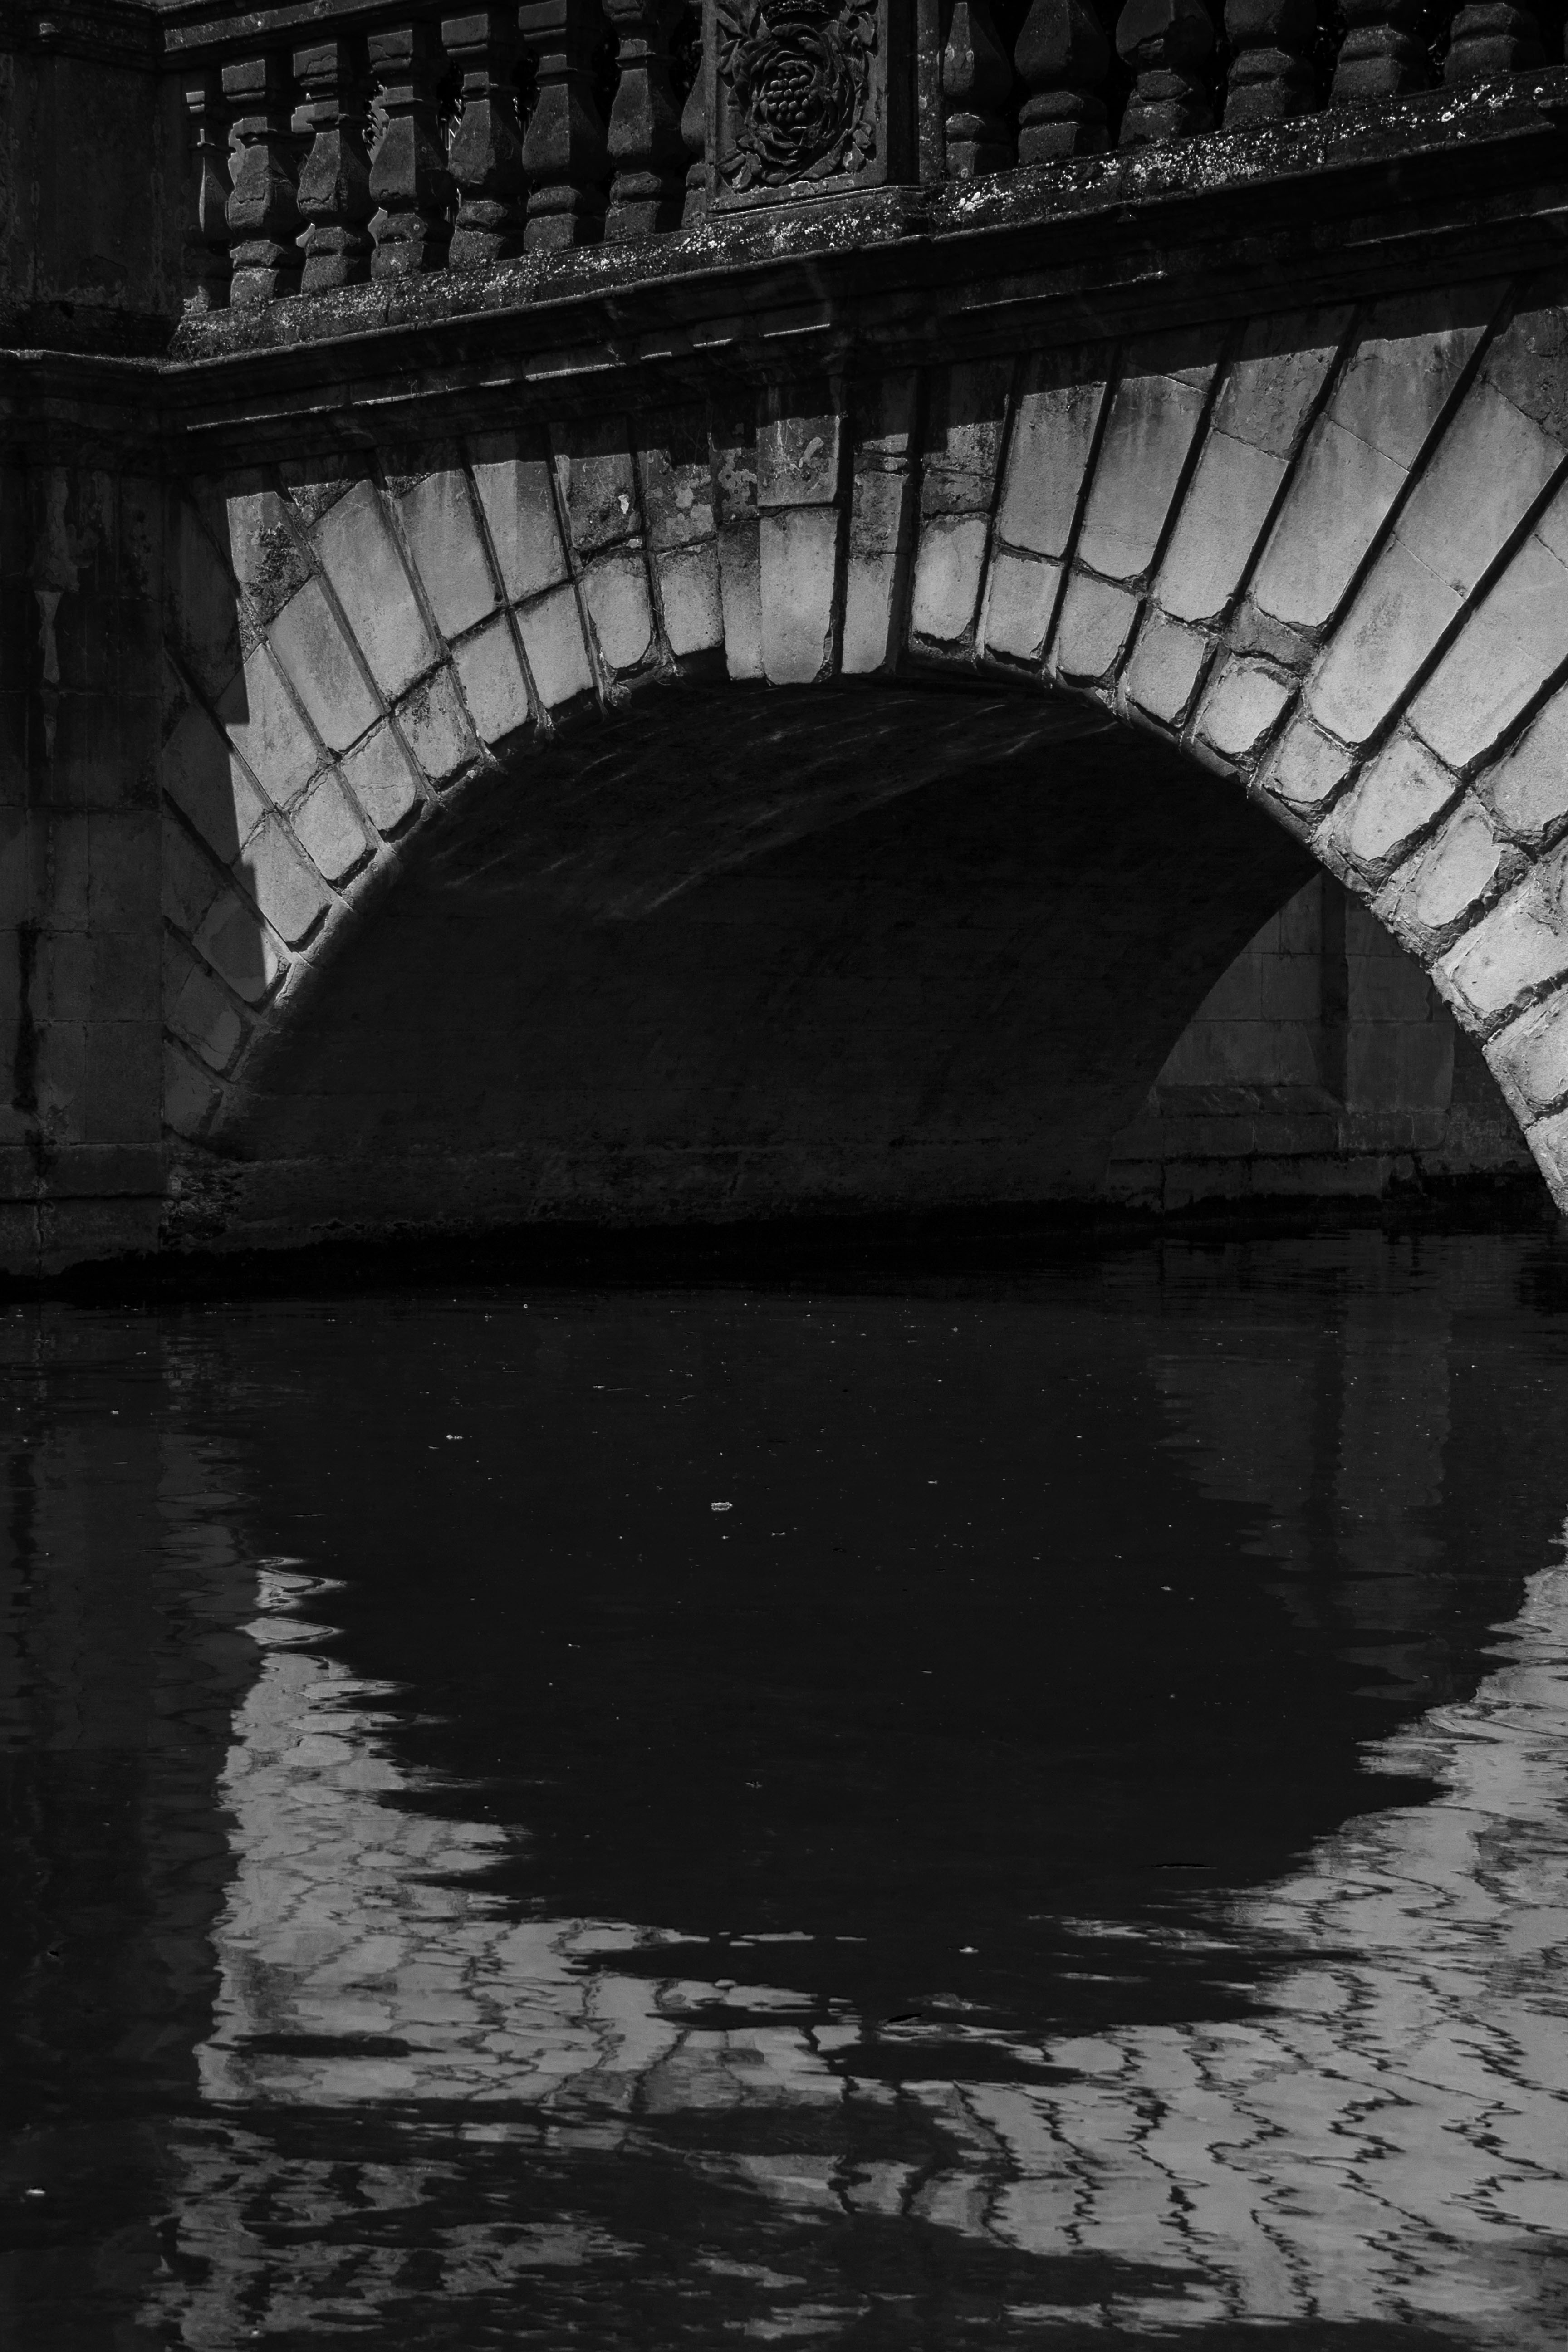
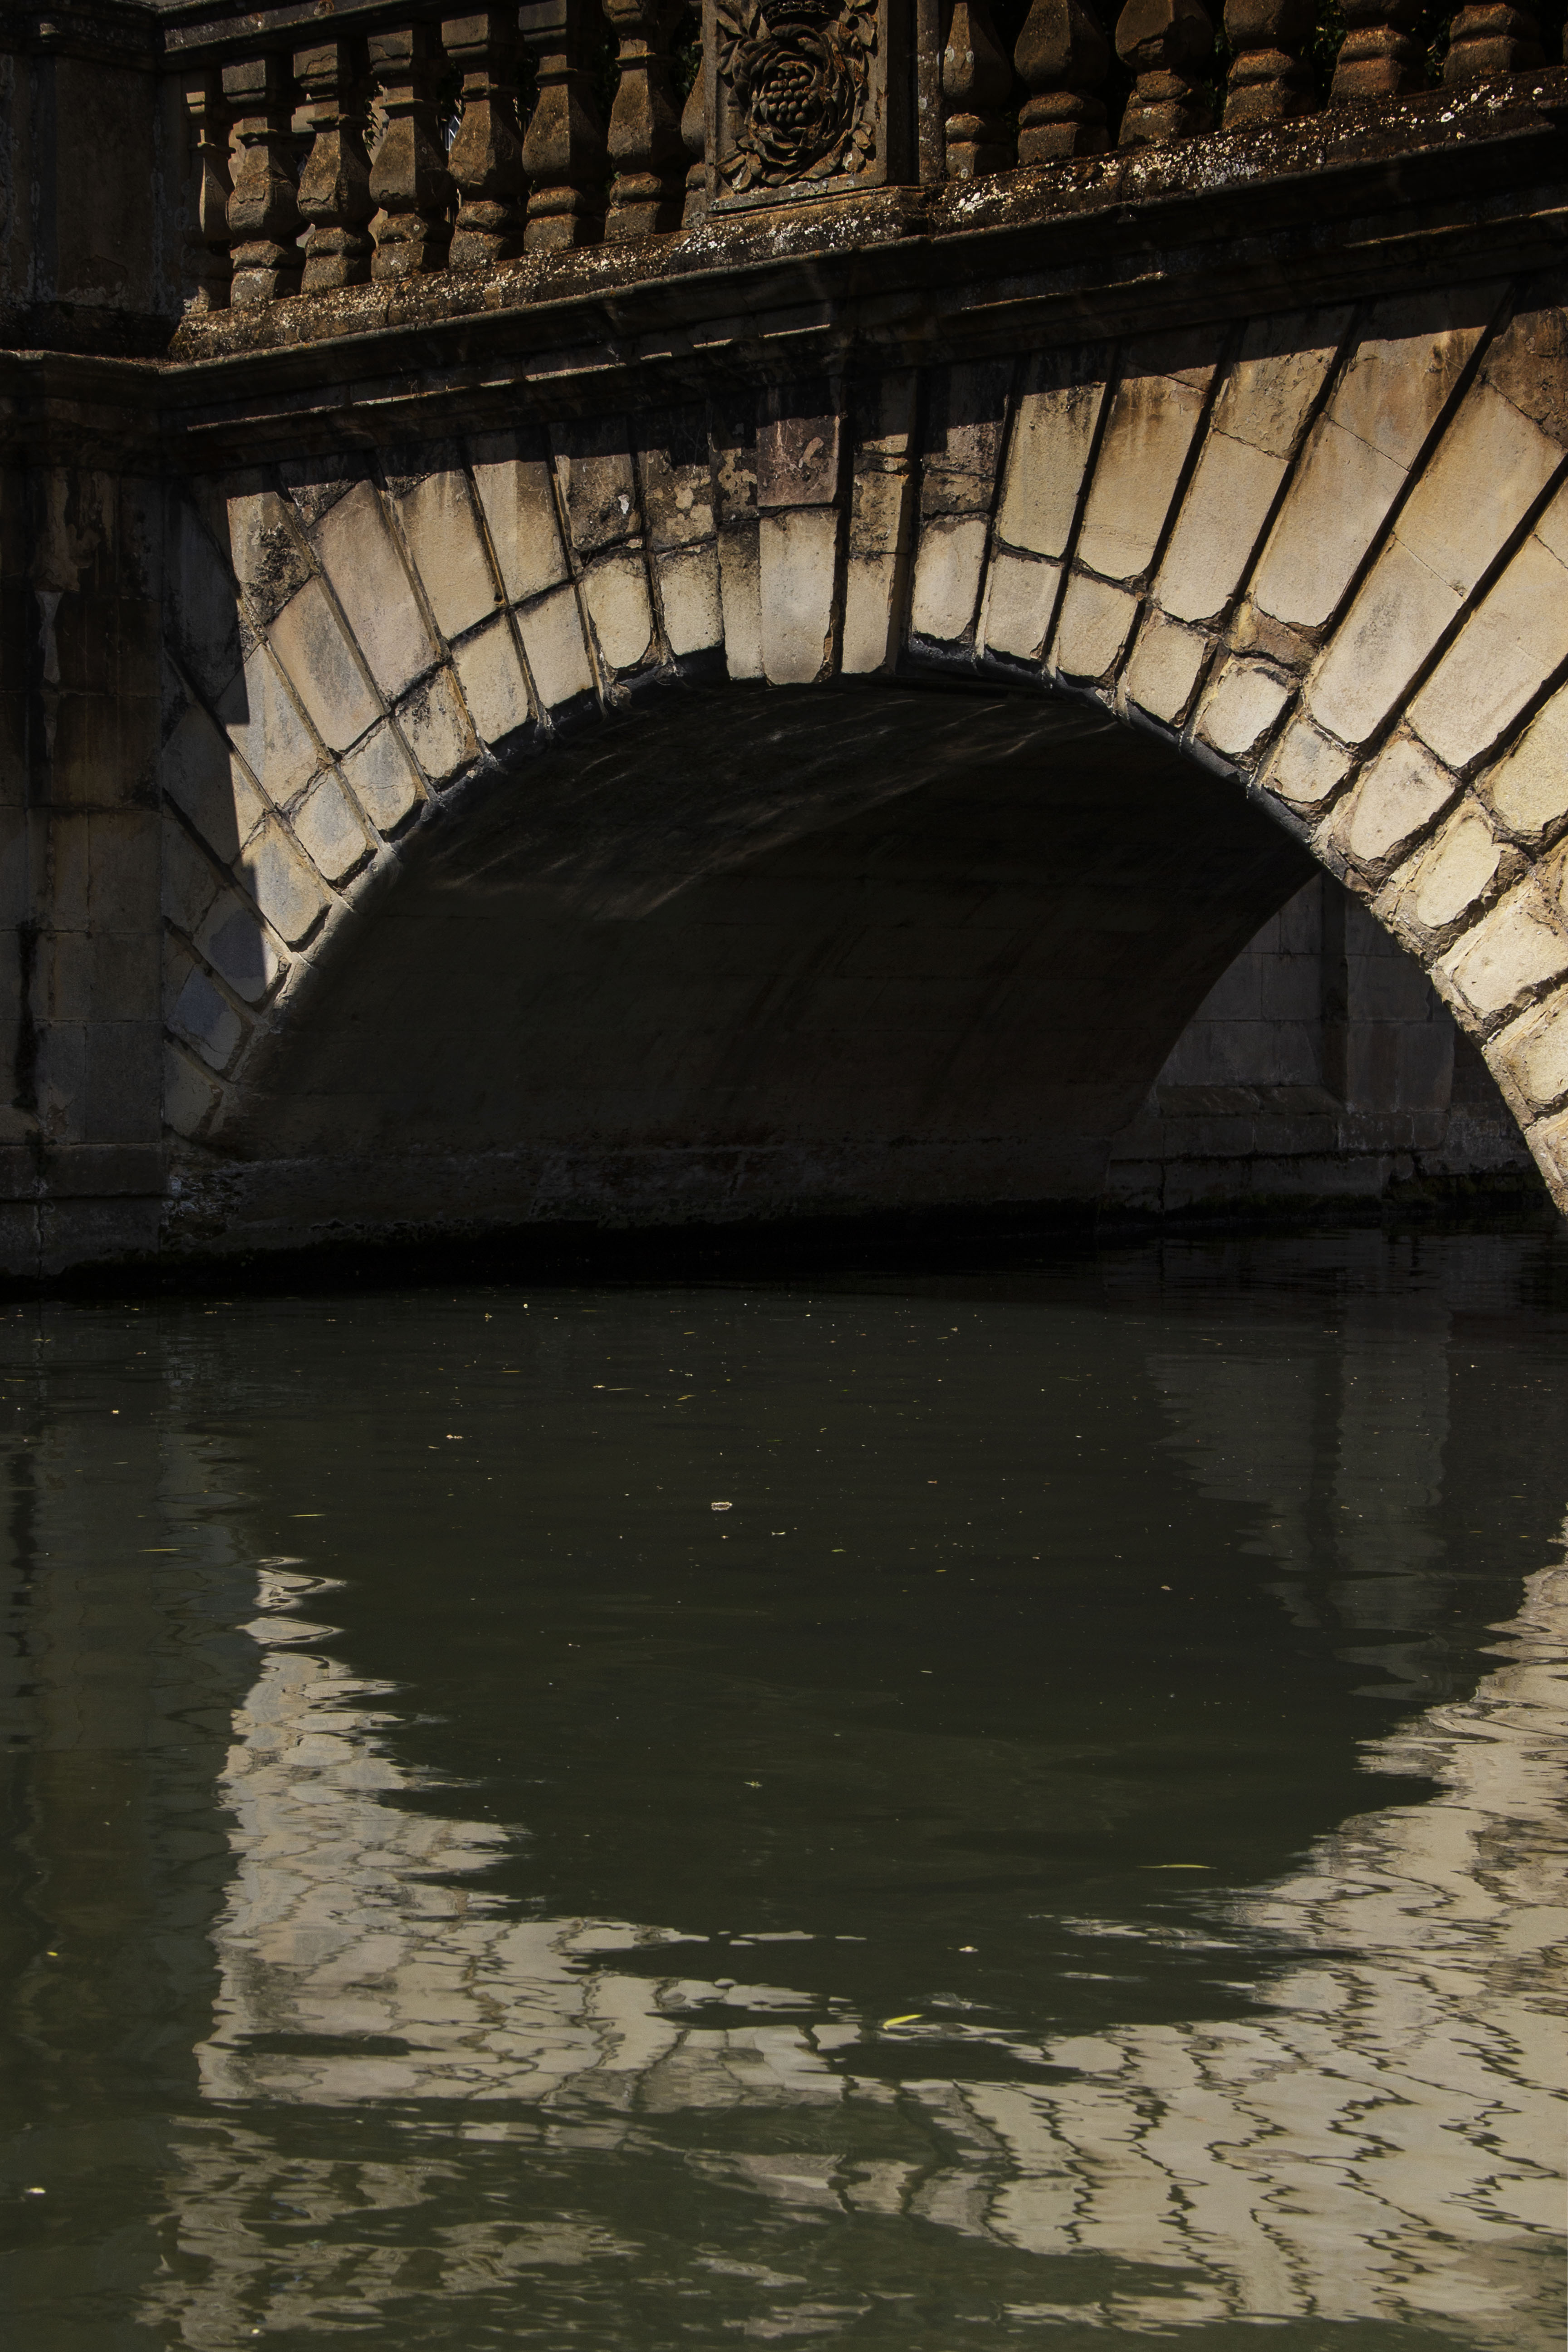
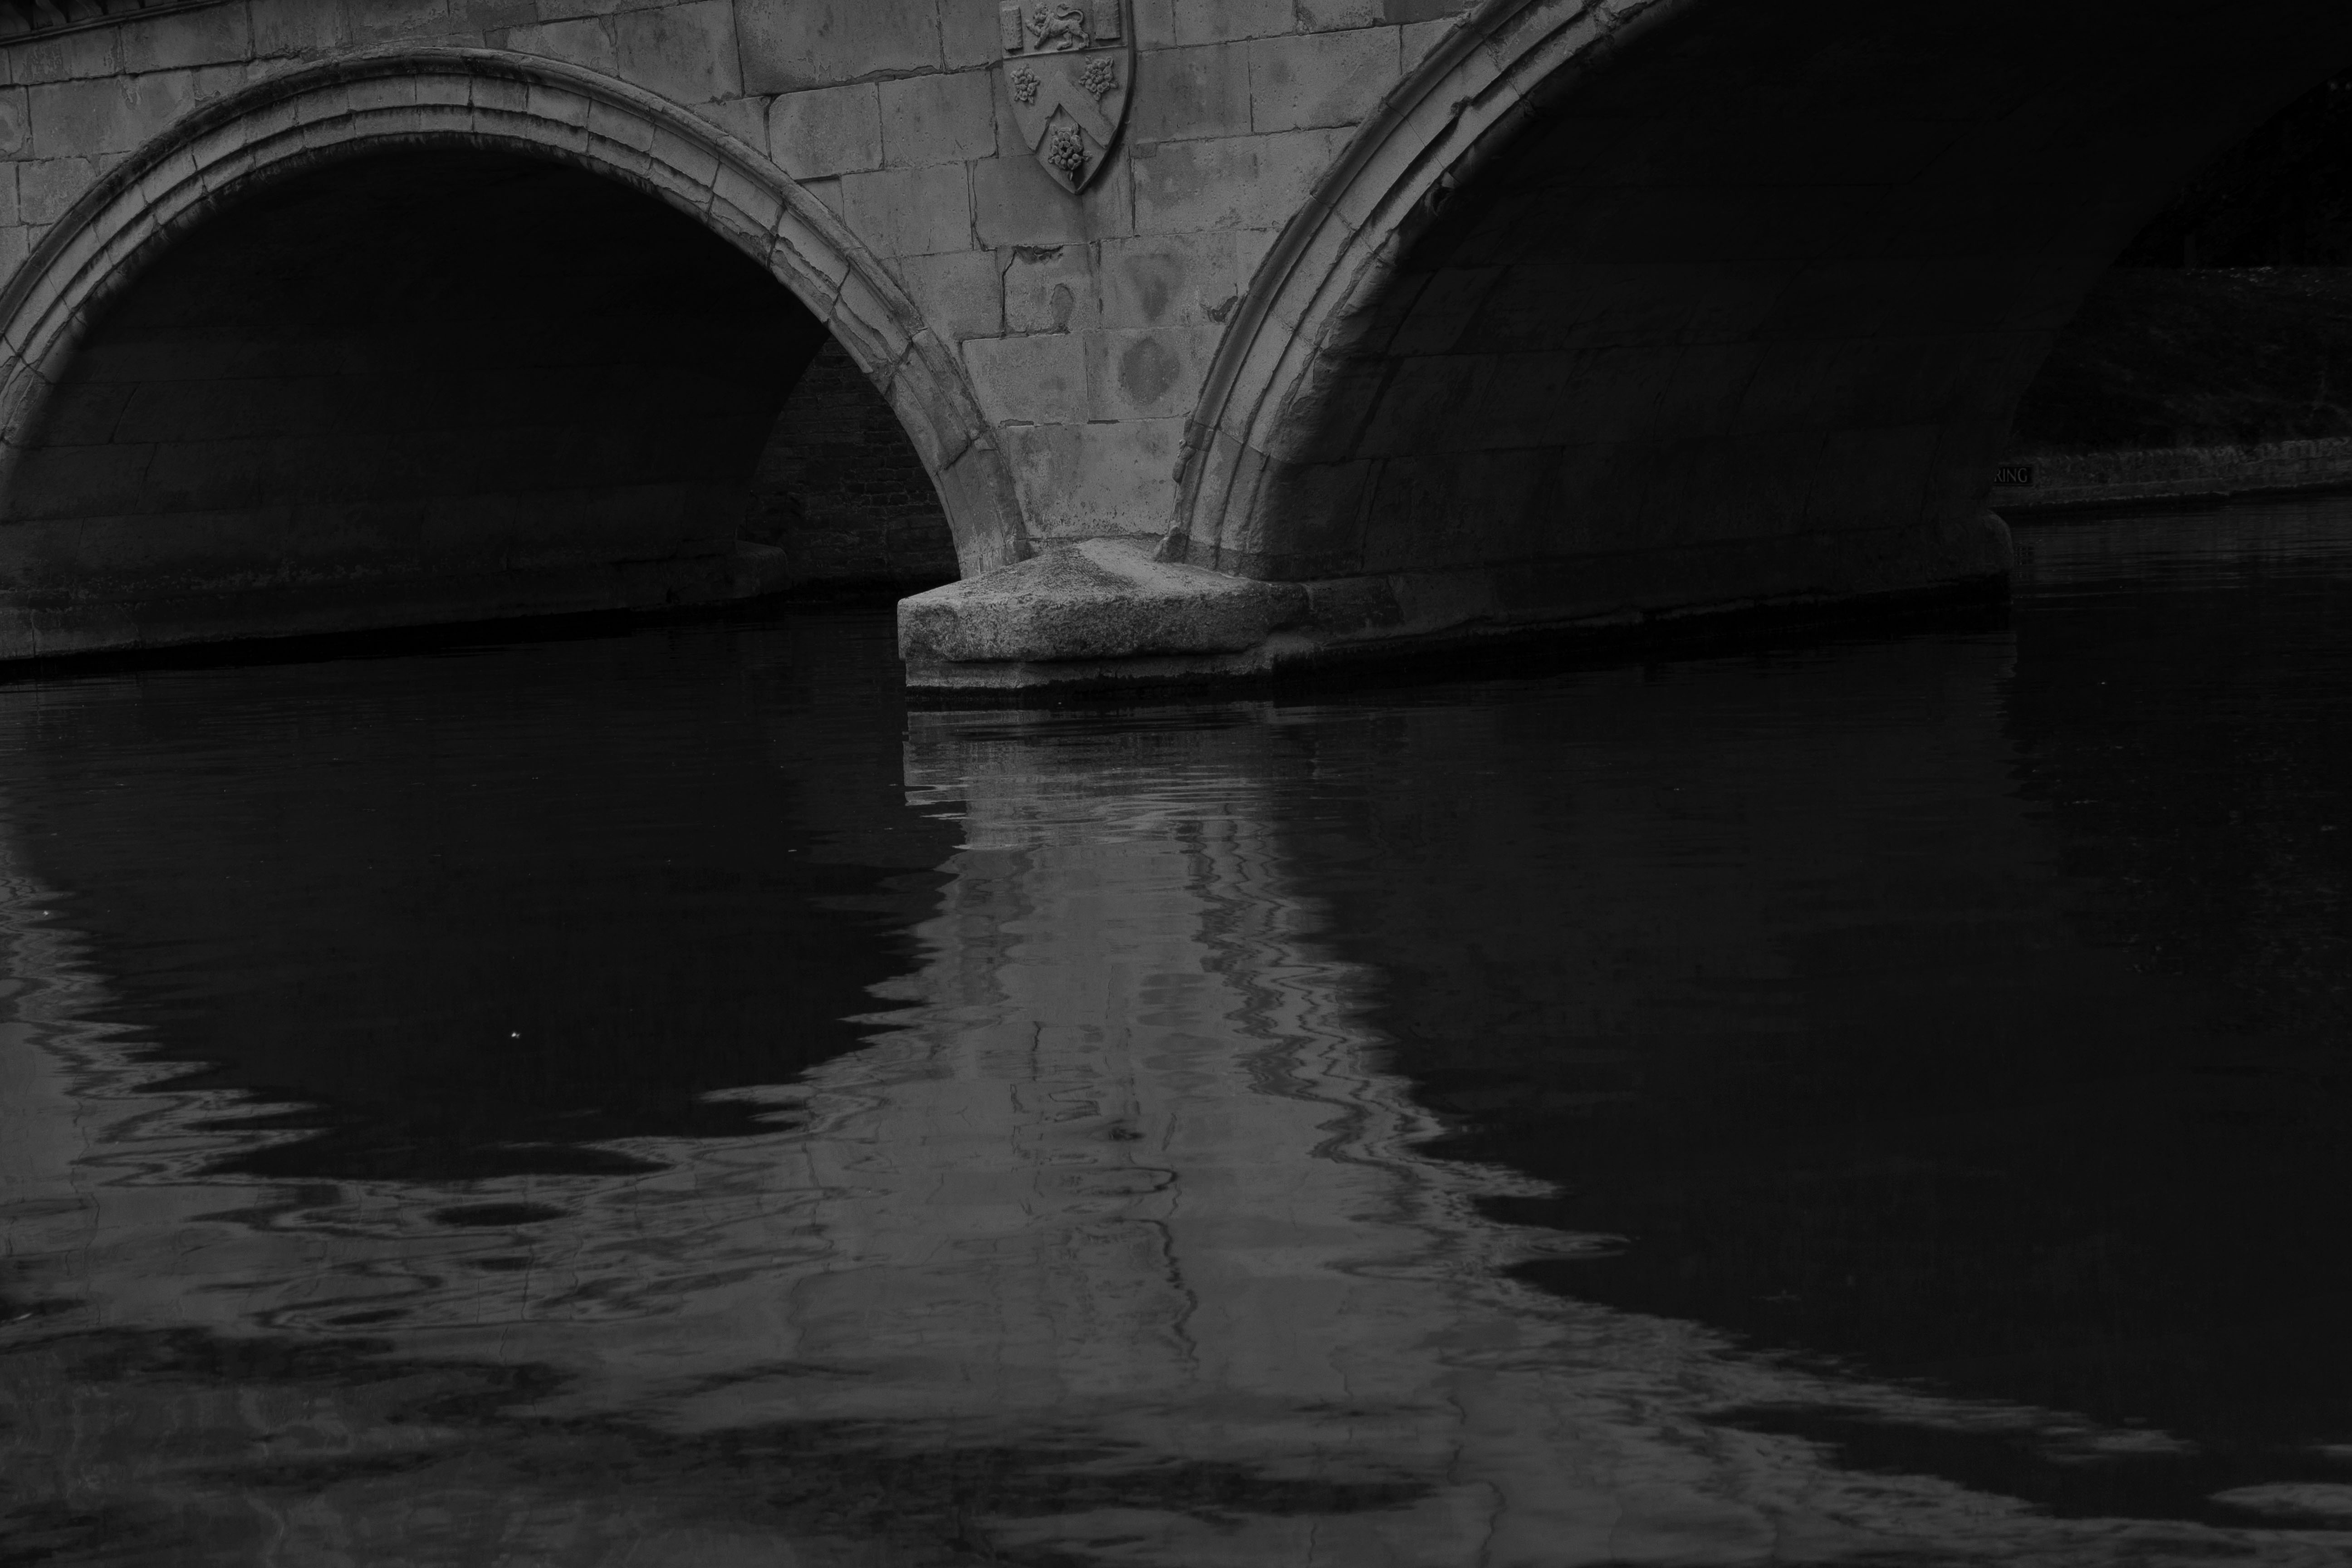
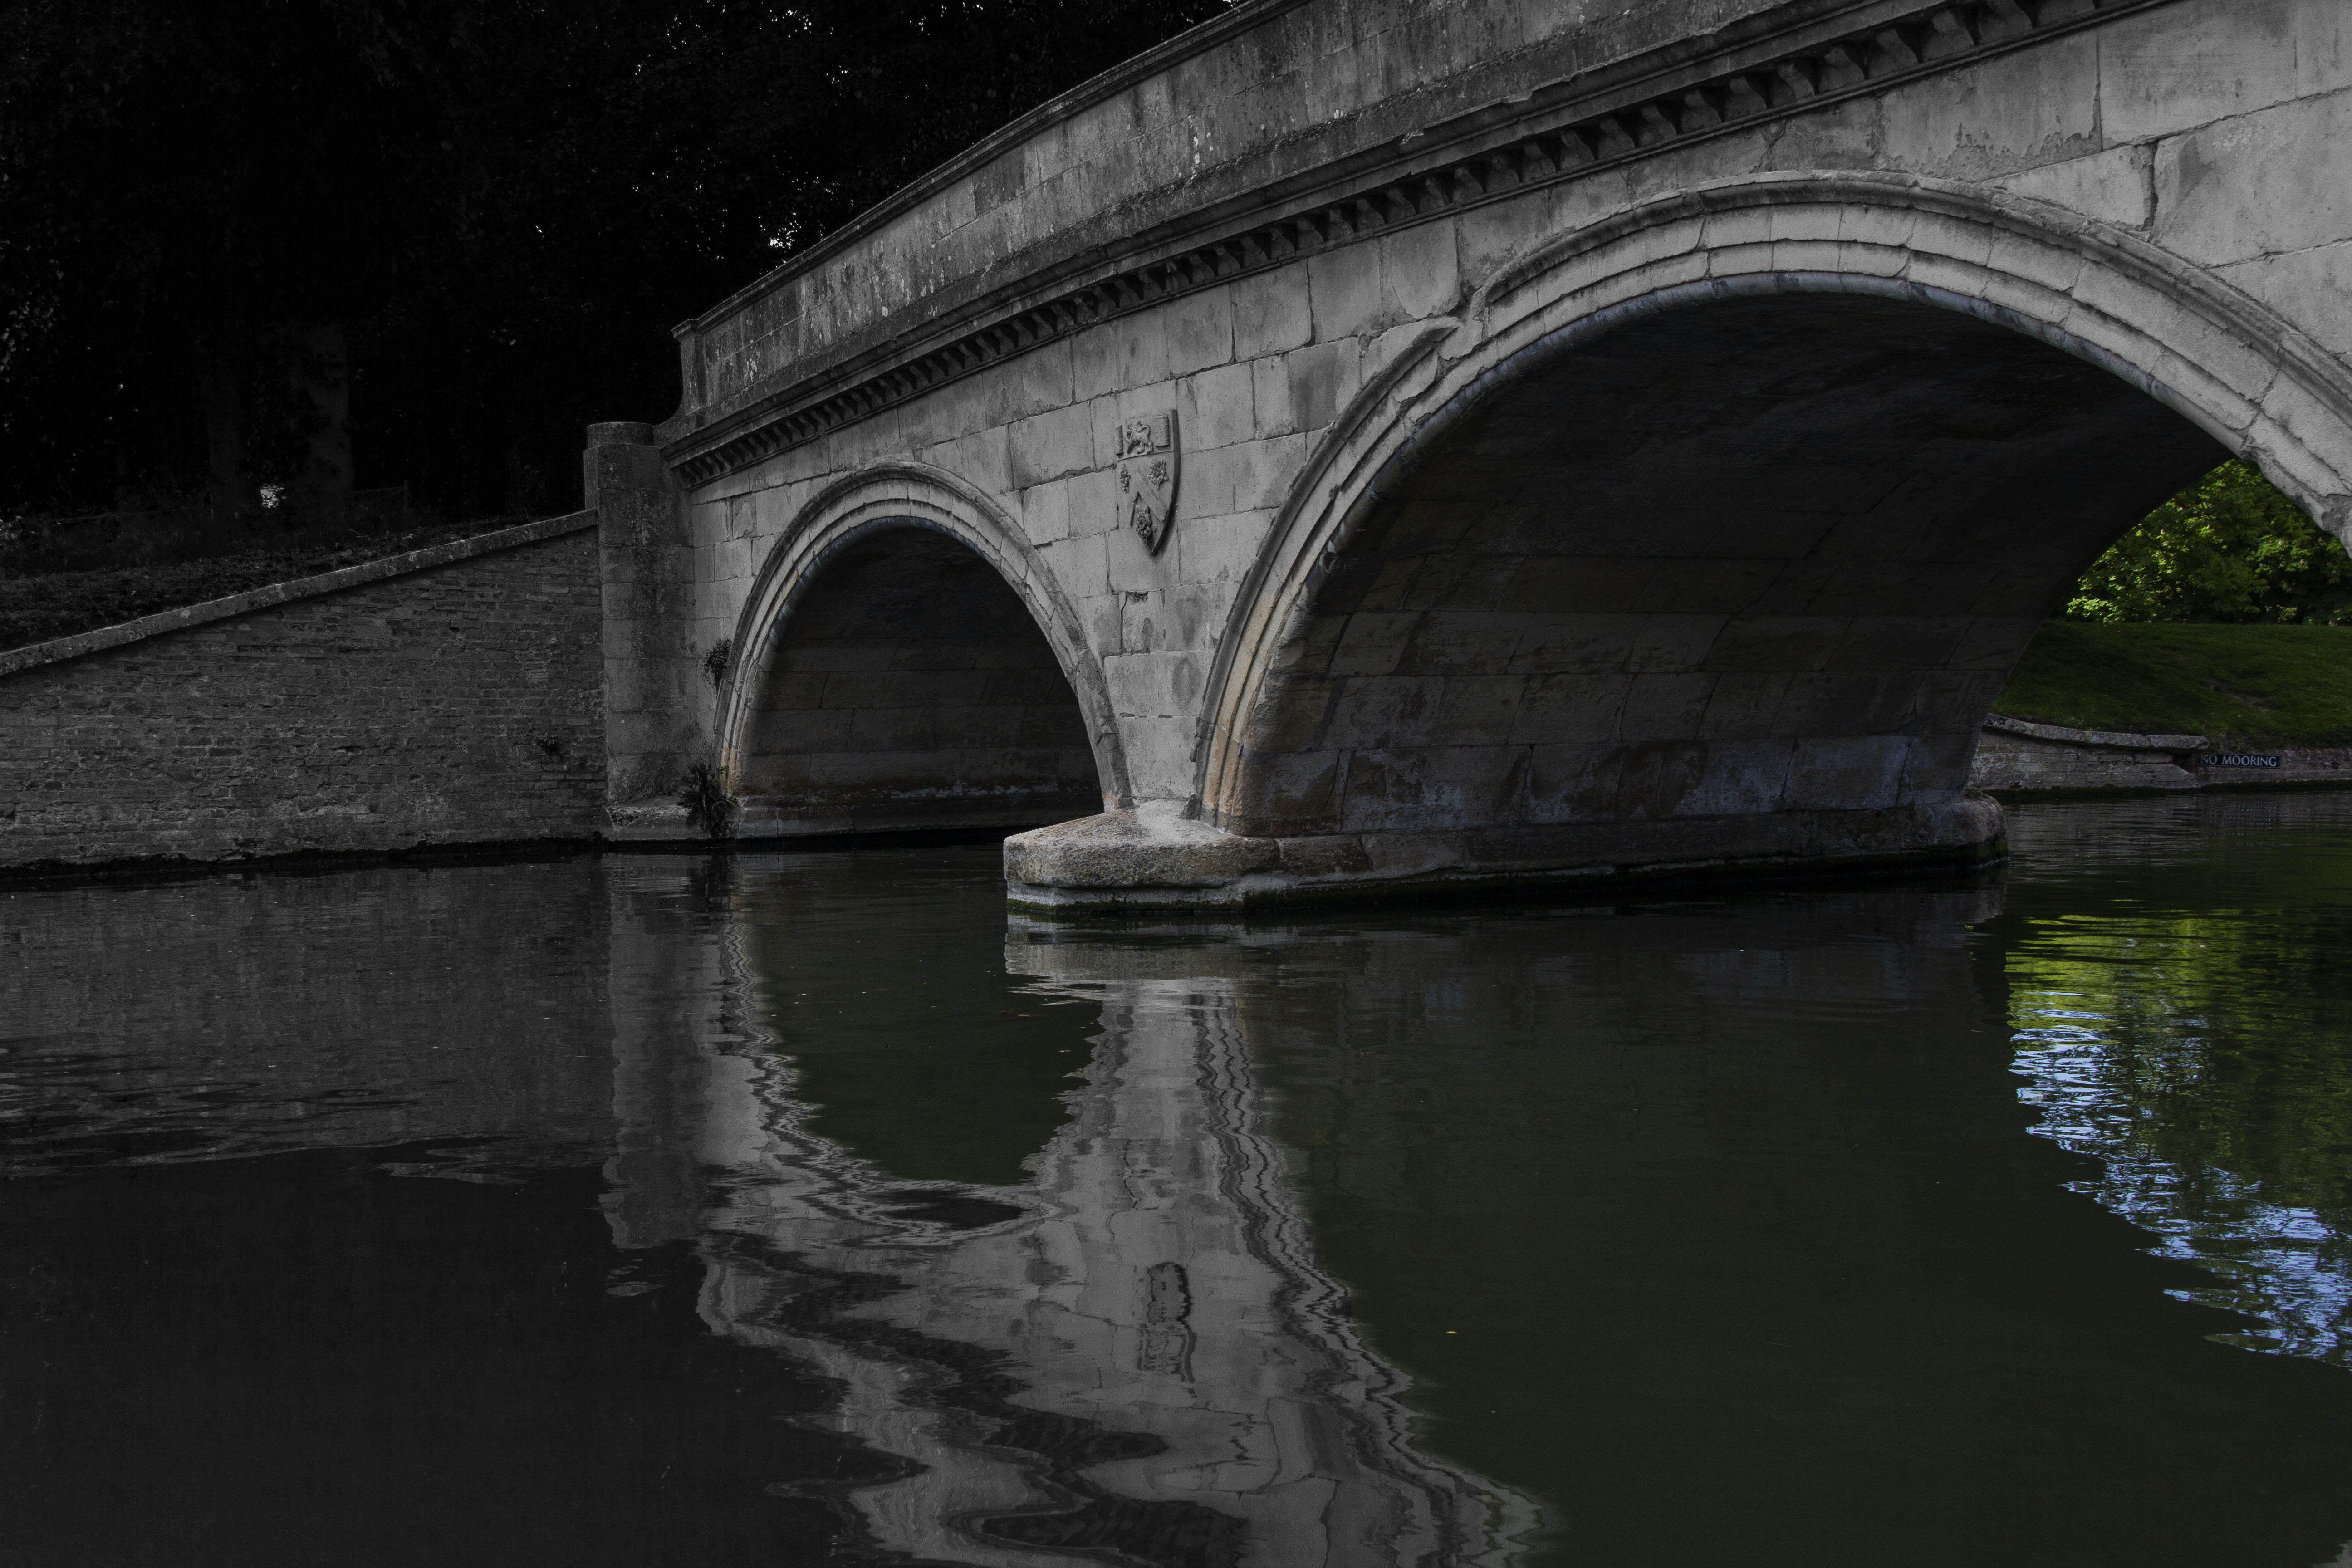
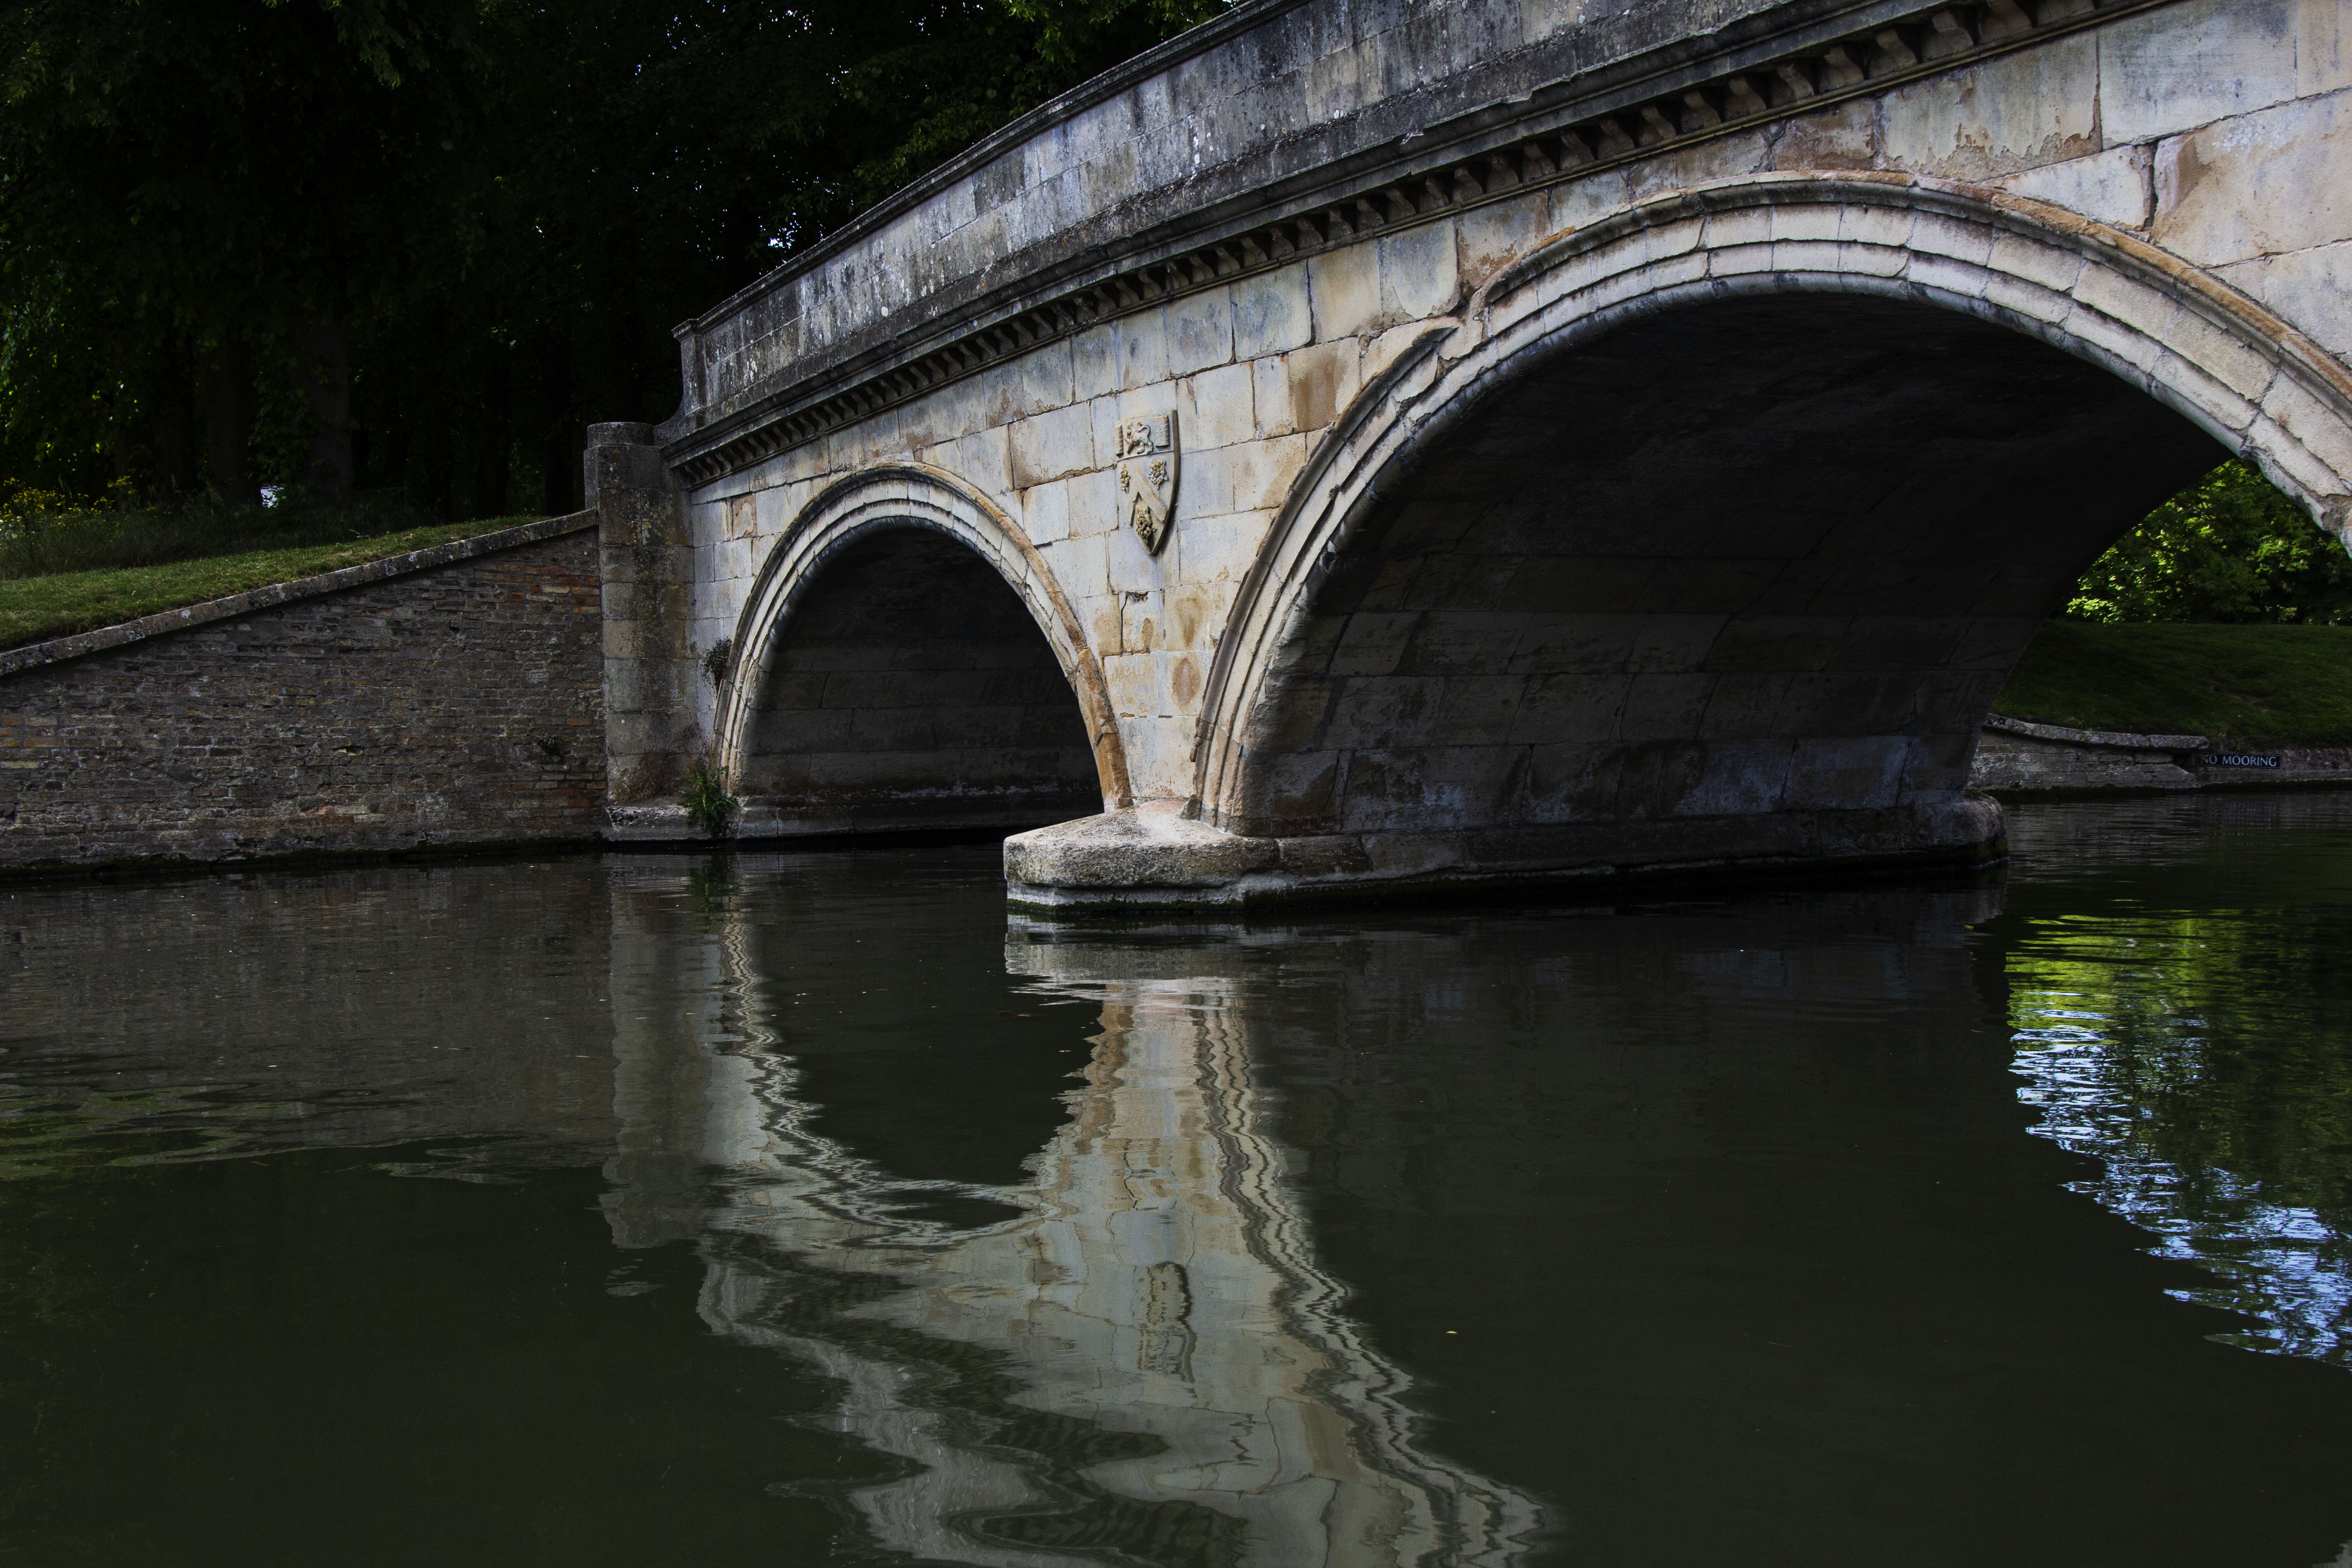
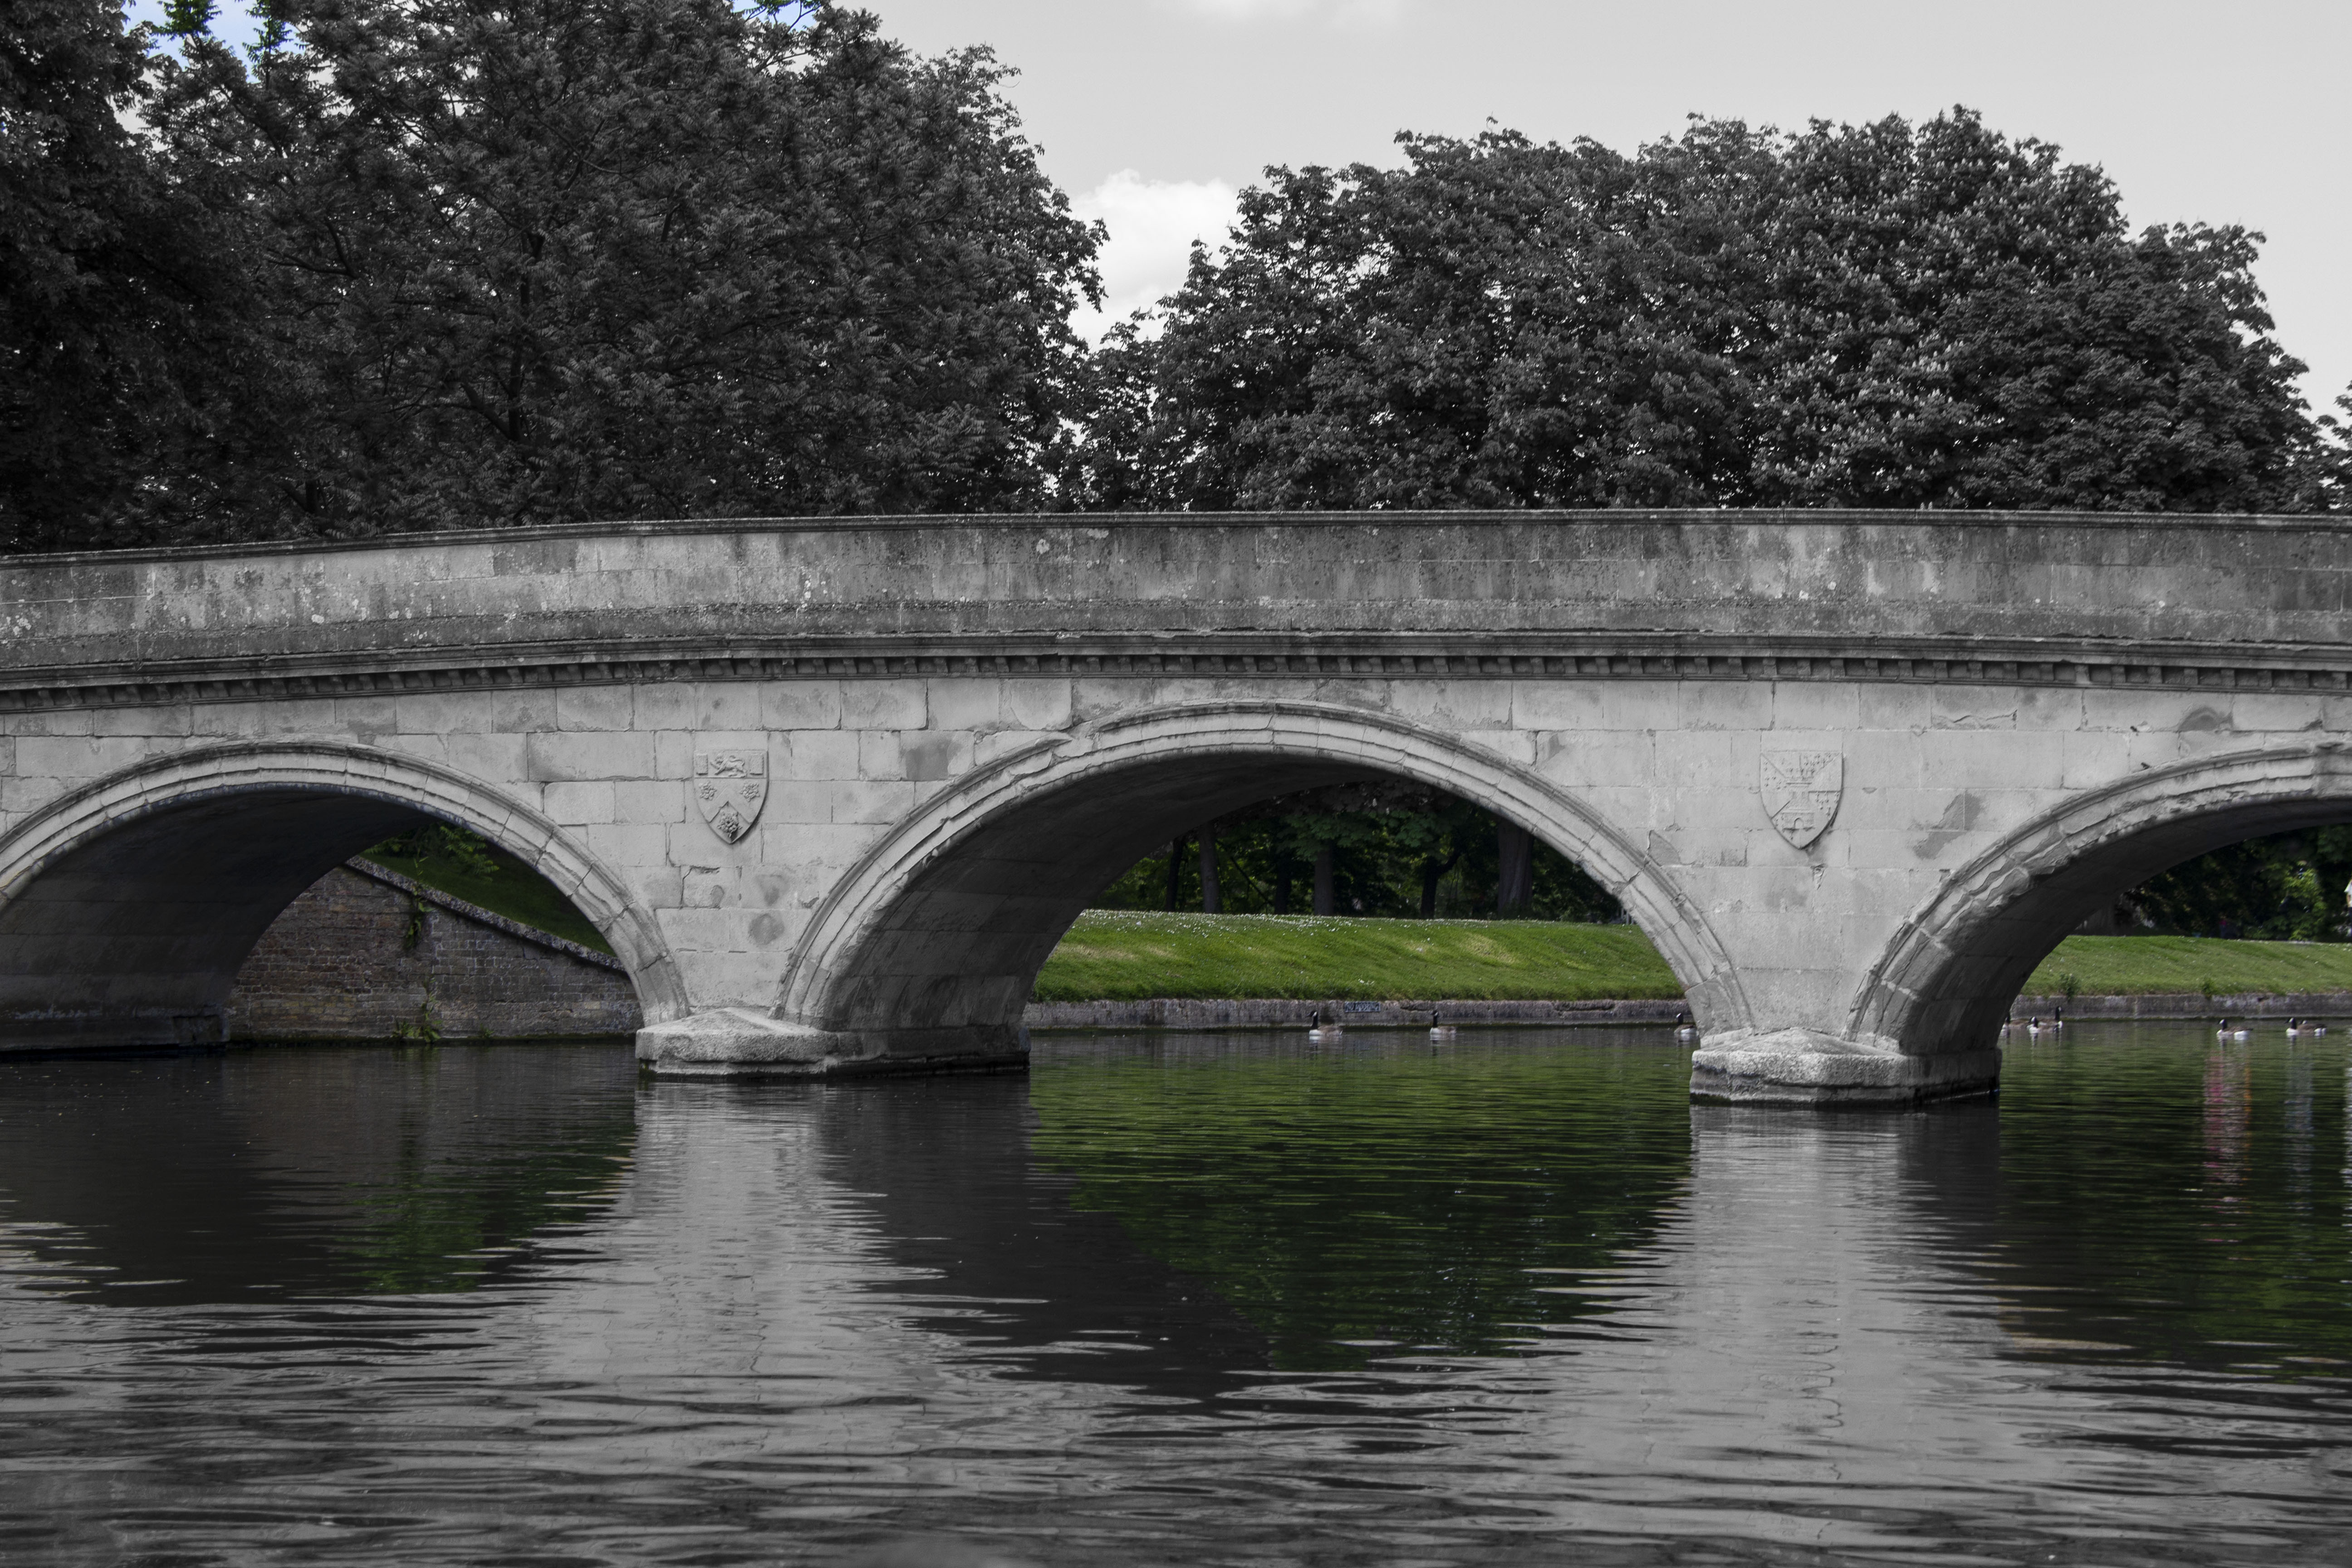
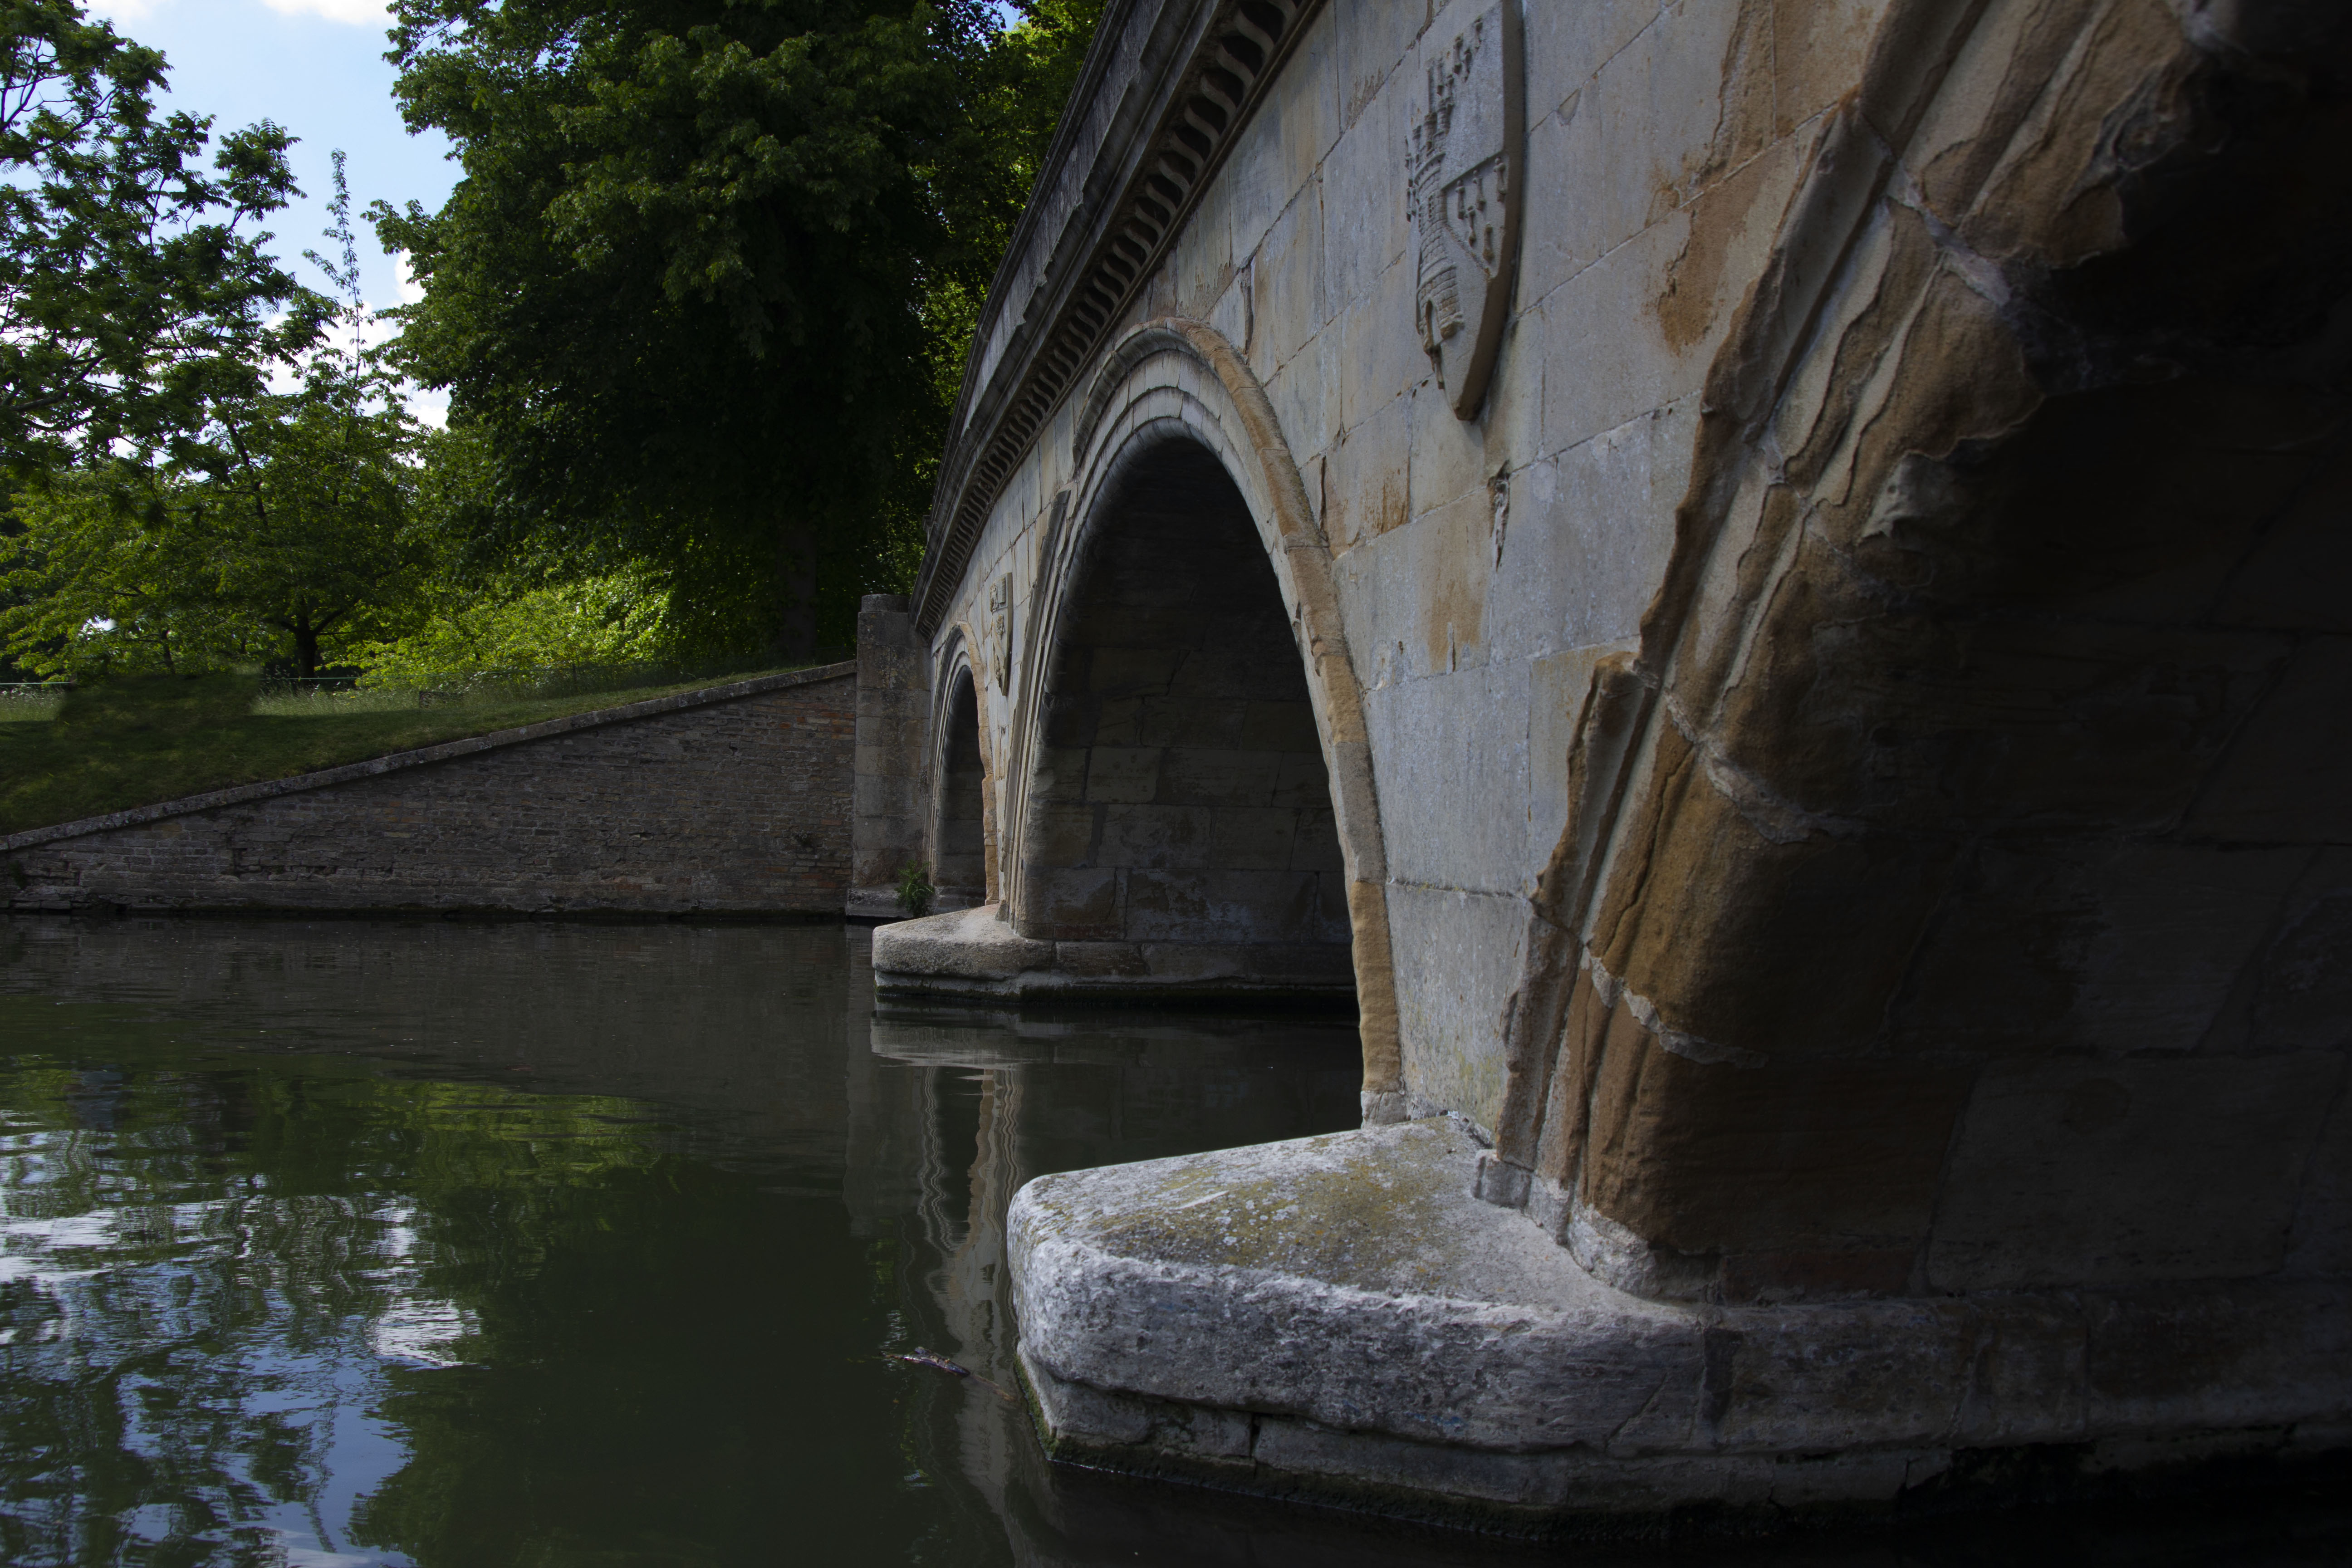
My concepts: A few ideas which I have chosen my final project on: London busy lifestyle, Fast living, beauty in a mirror, bridges and its reflections and the journey of cycles.

Task 2 (AC 2.1, 2.2) Develop your ideas of ‘Dreams – Reality’ . As you can see from each of my blog I have photographed different ideas – from all ideas I have decided to select the cycling bikes

Task 3 (AC 2.3) ( Experiment with materials alongside your development of ideas recording your observations and tests )

Task 4 (AC 2.3, 2.4) – Reflect upon peer feedback received in the class.

Task 5 (AC 2.4, 3.1) – Assess your outcome ( Observe and annotate all health and safety considerations as you work on the project. )

Task 1 (AC 1.1, 1.2) – Research of Artists :

In the class – our tutor (Zig) has demonstrated a few photographers, artist and also explained how to incorporate the surrealism into photography. Looking through a list of artist and photographers there was a few which really caught my eye. Below I will explain the photographer/ Artist which portrays the theme of dreams and realism and had helped shaped my idea for this project.

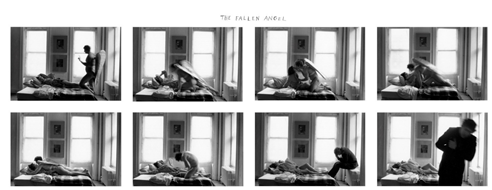
Duane Michals: – America Photographer – who has used innovative use of photo sequences  – which often portrayed emotion and philosophy.

Michal photographed his images in narratives, blending images with text in a format of sequence.  ‘I used photography to help me explain my experiences to myself’ Michal reflected   – I believe in imagination, Michal was influenced by great leading artist: Andy Warhol, Rene Magritte and Marcel Duchamp – often making his prints with poetic writings and observations about the subject he had photographed.

The Fallen Angel

Alice’s Mirror – Sequence

Image result for alice's mirror

Saul Leiter – Photographer

Saul was also one of my favorite photographers. Leithe started his career photography black and white street photography in New York and started training as fashion photographer and collaborate in Harpers Bazaar magazines.

Leithe leisured , impressionism style using Kodachrome colour  -his famous quote – ‘I like it when one is not certain what is sees.  I was really inspired by Leithe’s style of creative photographs which certainly fit the concept of dreams and reality.

There are many other creative artist/ photographer who has clearly demonstrated the theme and narrative behind dreams and reality.

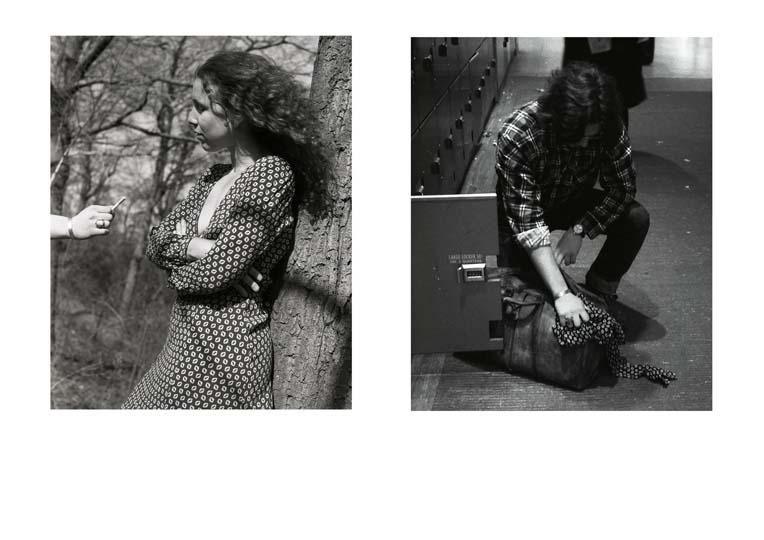
Mac Adams: who had created still photographs also creating story telling mysteries using set of 2 images – which reads a narrative yet a creative suspense in his images. Some photographers created a series where is the cat, or to be or not be. One of Adams prime mystery photograph series was captured below: The girl in a dress and the man getting rid the same dress.

Adam created space his is photographs he had come to terms of implementing the use of ‘Narrative void’ – (which is defined having space between the images. Adams style also reflected the concepts of dreams and reality as his style adapts a semiotic approach with narrative, which has been demonstrated in most of his images. Adams photographs also demonstrated a figurative shadow, which was used under certain light conditions to create shadows. I enjoyed researching on Mac Adams, Adam has a very creative approach, using shadows and mysteries into his work. Defiantly reflect the ideas of surrealism.

Example of photographs shown below using – Mac Adams approach

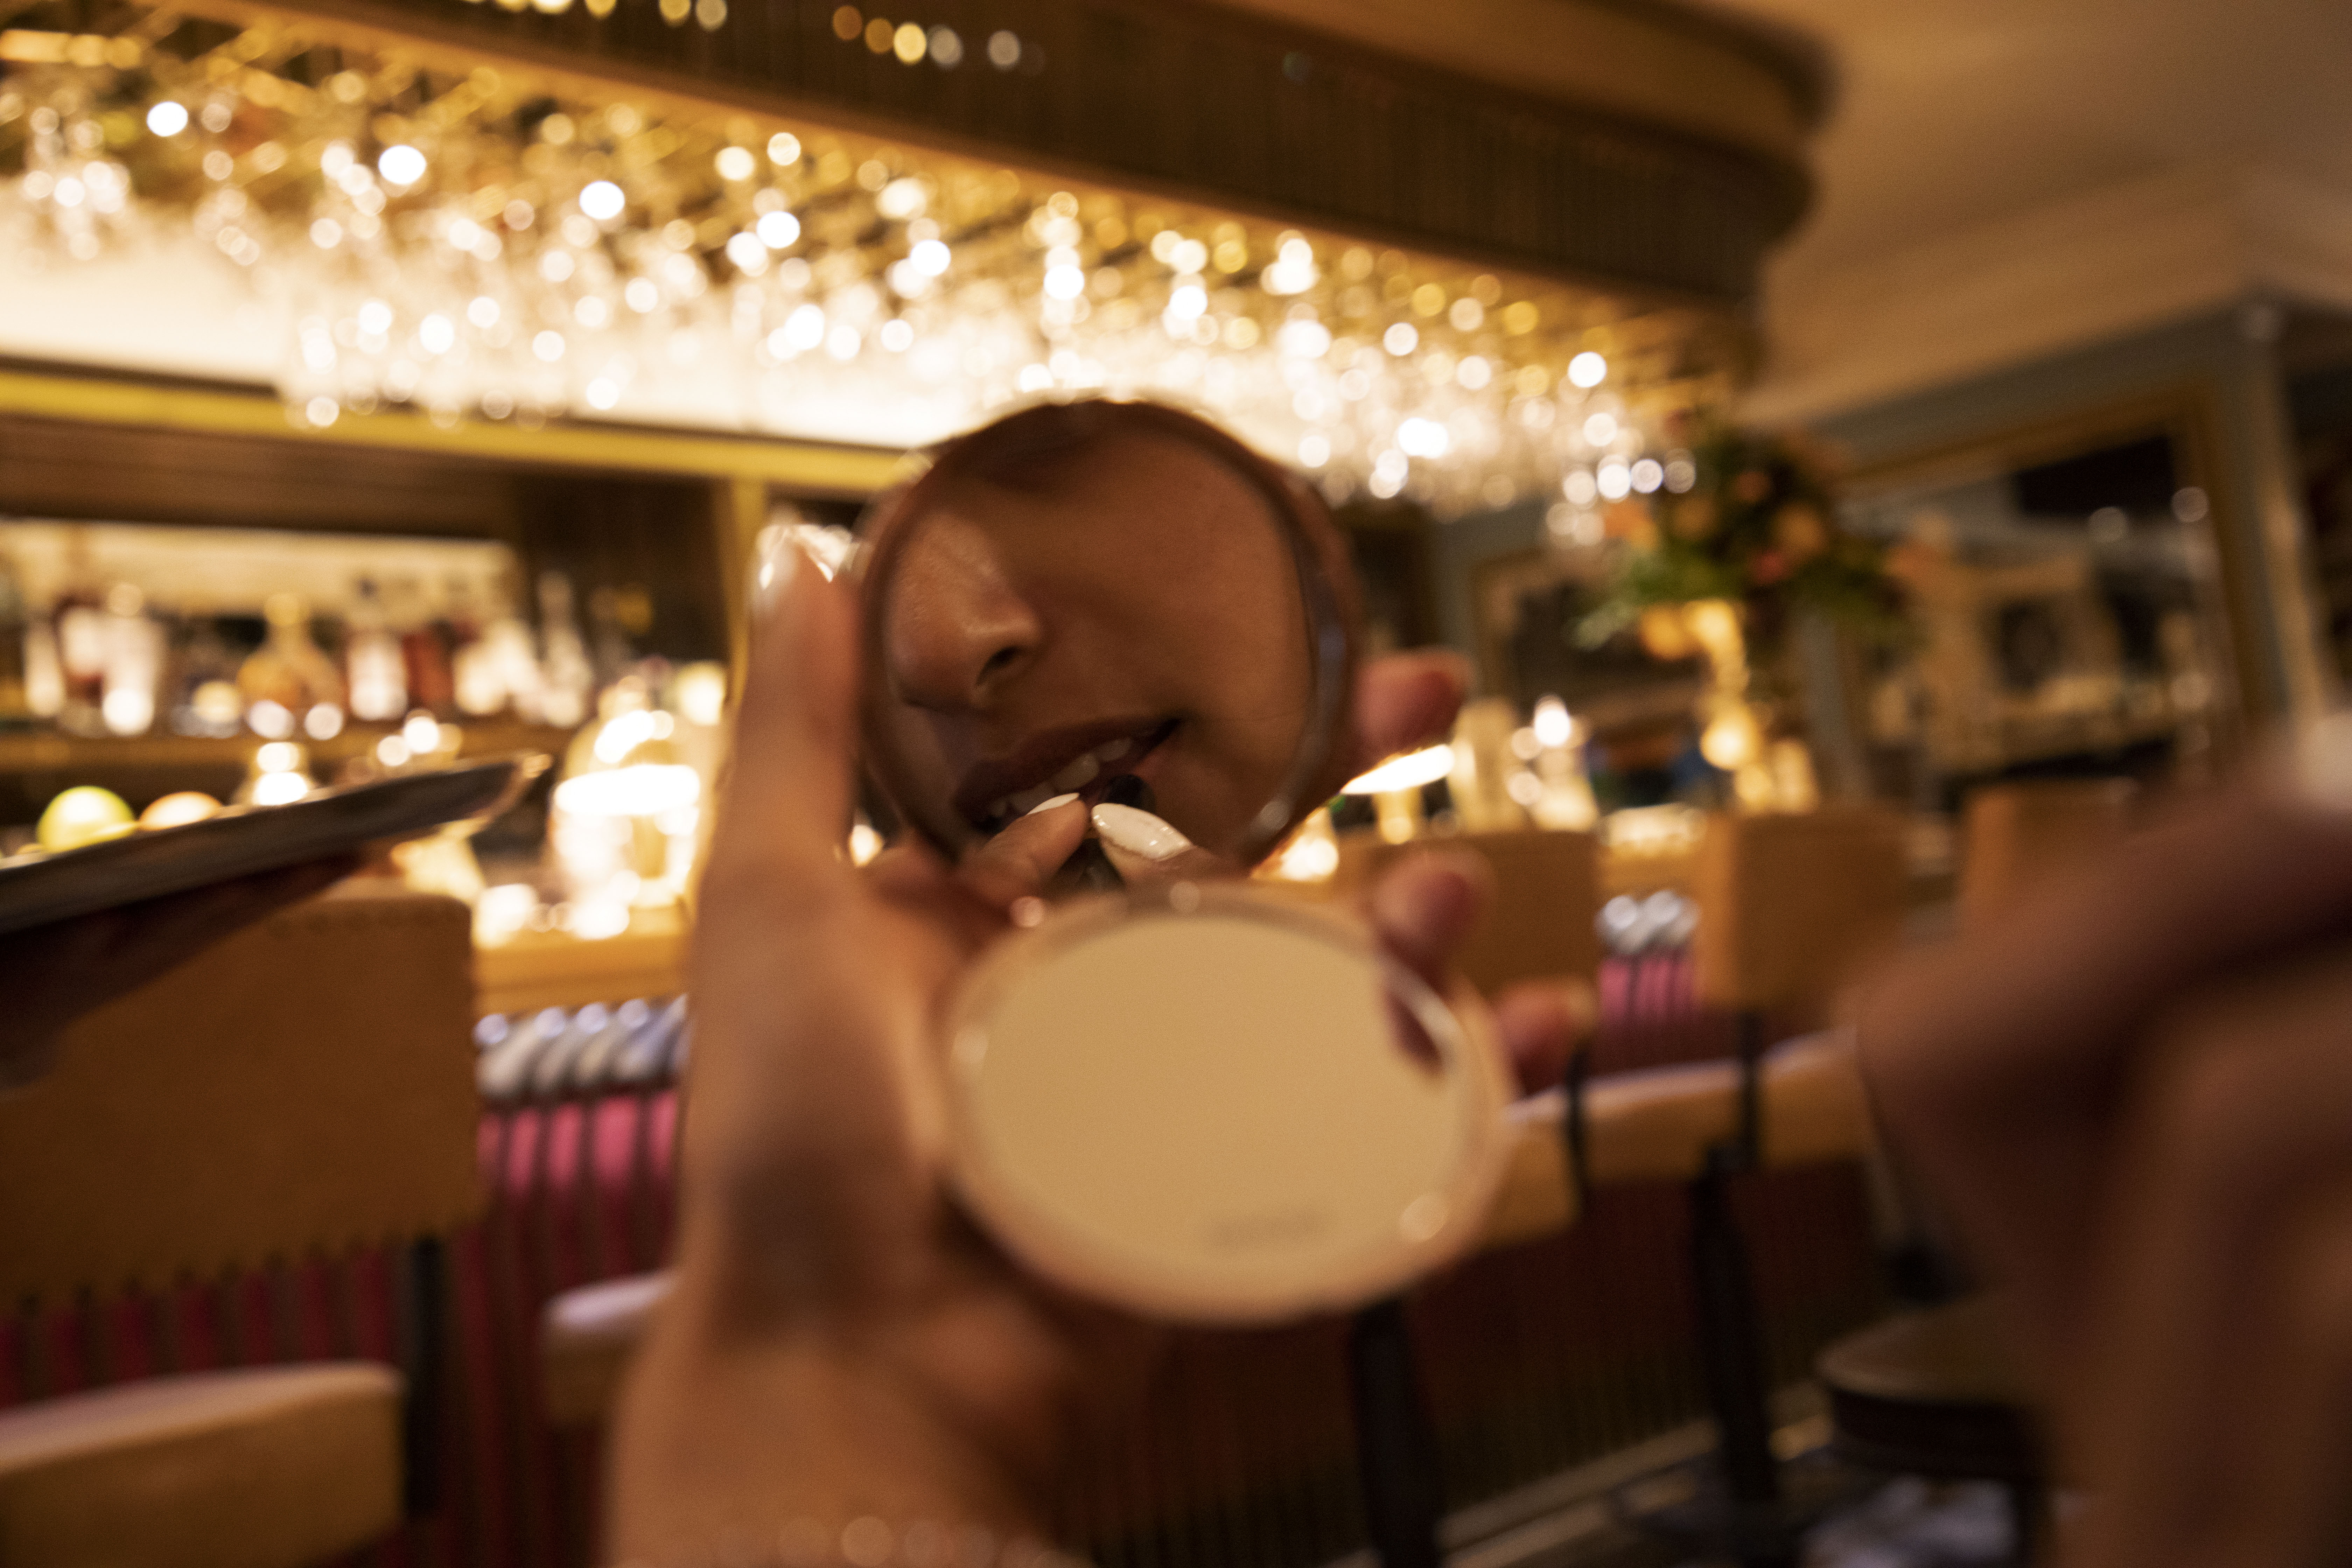
For the below set of 3 images taken – the concept was about a girl getting ready in a fast pace moving world . It shows a mystery and brings up questions to the viewer – where is the girl? where is she going? what is the reason behind the make up and who is being the female taking photographs… leaving a set of mystery in this sequence on 3.

I wanted to created a ‘shallow dept of field’ in order to focus, solely on the mirror and features of the female, leaving the background blurred in order to enhance the mystery to the location. Camera Settings: F/4.5. 45mm (focal length), shutter speed; 1/50 (to capture the ambient lighting.) ISO: 1600.

After researching through a list of different creative artist who had clearly defined the narrative and sequenced – I have also my series of photographs on a list of series (the list can be seen in my blog under  –  The final project where I have selected my photographs and have remonstrated the reason behind the chosen images.)

The Cyanotype – Printing & Its Process (Health and Safety)

:

AC 1.1: Identify the characteristics of digital imaging and printing. ( This can also be seen in my blog post: (P2 : TASK 3 Studio Practice (Fine Prints) under site: https://wordpress.com/post/nceflevel2photographyprojects.wordpress.com/1000 )

Digital Imaging and Printing: The Cyanotype Process & What is Cyanotype printing?

Cyanotype – is often known as a photographic printing process that produces a cyan – blue print. Cyanotype printing first originated in the 1840’s – and was used as a copying technique, often referred to the term “blueprint.”

Cyanotype was first used by engineers in the 20th Centuries – which was often referred to a low-cost process to produce copies of drawings.

Examples of Blue – Prints

Step 1: Preparing your photos  – in Photoshop

  • Black and white the image
  • Bring up the right bar line at the top and drop the left-hand side bar down – which then automatically turns into a negative images.
  • Save > Print > Using the negative paper > transparency paper to print.

Step 2: How to set up – Cyanotype process & Method (Painting)

There are 2 main chemicals (solutions – we mix together:

Step 1: Mixing the ingredients:

  1. Potassium Ferricyanide (is often used as an ‘oxidizing agent’ to remove any sliver from colour negatives – also called bleaching. This solution is best used with the solution below in order to brighten the highlights in prints
  2. Ferric Ammonium Citrate 100g (Yellow- Brown ish colour which is used to mix with Potassium Ferricyanide in producing blueprints – Note – Health and safety hazard – threat to the environment, always ensure protection safety and environmental safety.
  • Gloves and Mask (Required to prevent stains on clothing and hand & protect in haling.)
  • Measurements   – one for each solution – measured (mixing each induvial solution, and the together in one whole mixing jug.)
  • Equipment required: Bucket, paint brushes, trays, water colour papers.  – Using a bucket pour in the mixed chemicals.
  • Paint water colour paper in to a fine – neat green brushed -different painting style – and let them for a few hours to dry.
  • Preparing your images to print: First step it to prepare your images on Photoshop.

Step 3 : Printing – Negatives: In the class I had selected 3 images: A photo of a building inside design black and white, a photograph of a bridge and had used a leaf (which was kindly given to me to borrow. The tutor and the fellow class members placed under negative prints in the) Nanopoisistion Device (Negative printer.)

For at least 15 /  20 mins (The negative prints were used on the dried brushed papers (water colour paper)– placing the negative images on the paper & a fabric cloth under the printer for a few mins.)

Step 4: Washing away the blue colour

Preparing the prints into a tray > using cold water and washing away and yellow and blue colouring > wash away until the blue colour has been completely washed. You are than left with a fine art blue cyano – print in blue. Please see below image that was produced/ printed.

What is the benefit of Cyanotype printing?

Annie Lopez – was one of the contemporary peers who has used this style of printing – She has been turning to a 174-year-old photographic printing process ‘Cyanotype.’ Lopez created dress patterns, wrapping paper all over with Cyanotypes. This type of printing requires a negative image. There are many artists and photographers that even up to this age use this type of printing for fashion, clothing. It has its benefits – for creating pattern and for its distinctive colour mark – blue. Anna Atkins was also one of the widely considered female photographer who has used this process of printing. Atkins was recognised for book – Cyanotypes of British Age.

(Learning Outcome 3 (LO3)) Understand photographic practice and health and safety procedures.)

Healthy and Safety Rules – Cyanoprinting. (Learning Outcome 3 (LO3))

  • (Dealing with Potassium Ferricyanide + Ferric Ammonium Citrate) When dealing with the above 2 chemicals, alongside the process of cyanotype printing – it always important to:
  • Wear appropriate clothing, i.e. glove, masks (if any health issues ie. Asama) and tie all hair back and wear appropriate footwear.
  • Potassium Ferricyanide (main hazard safety – always keep away from eyes, and skin as it could become irritated.
  • When using the above 2 solutions and setting up cyanotype printing   – ensure the work top/space is clear as this could lead to a ‘tripping or spilling’ hazard.
  • Ensure all wires, electronics are kept away from the work space
  • Always – lay newspaper to the flat surface/ works space stops the (green paint used on water colour paper from spreading on the work top surfaces.
  • When using the printer – ask for support (heavy lifting and be careful could be over heated.)

Printing – Summary: I really enjoyed learning about the different types of printing and its processing methods. I have been thoroughly able to analyse the usage and benefits of the different types of fine art printing in photography.

German Etching & Fine Art Hahnemule: single coated – natural white paper – holds the line of the ink – almost as a delusion of 3D looking print.

Rag Printing: Most popularly chosen printing by photographers to create high quality prints. This fine art print holds a smooth surface.

Pearl & Lust: Satin type finish with a textured feel. These two types of prints sits between glossy and matt.

Cyanotype:– blue printing: for materials, clothing etc

Dreams and Reality 2 – The creative bridges at Cambridge

Dreams and Reality – Idea 1:

Over the edge in Cambridge. Having a scroll in Cambridge, I was able to capture some amazing bridges. Bridges and reflections was one of the first ideas for this unit. The aim was to capture: brick work texture, bridges (from different compositions/ angles, and reflections in the water.)

Image Manipulations: As you can see the below 6 images of the bridges, I have manipulated into black and white and some in colour. I have also used the lasso tool to brighten up the the reflection in the water and have demonstrate the use of reflections and some symmetry – almost as a painting.

Clarity – I have enhanced the clarity to bring out the brick work textures on the bridge.

The above photos -have been taken in bright sunny day – also image manipulated in Photoshop, enhancing key elements: Clouds – vibrancy and the reflections. These still images almost look 3D and real, Another set of my Dreams and Reality idea.

Health & Saftey

Photographing in different location there are always health and saftey checks to be maintained.

  1. Walking alongside the bridges, I had to be very careful that my strap was tightened and around me, in order for the camera to be safe and secured.
  2. Also – being mindful of the surroundings with the equipment.
  3. I made sure – I had taken extra batteries, charger and also additional memory cards.
  4. There are always hazard and health and safety annotates in every photography shoots taken, for me in Cambridge, I just had to be careful of my surroundings.
  5. Asking for permission – I had to ask for permission in order to capture photographs in the Cambridge university – this was allowed but no flash photography.

Design a site like this with WordPress.com
Get started